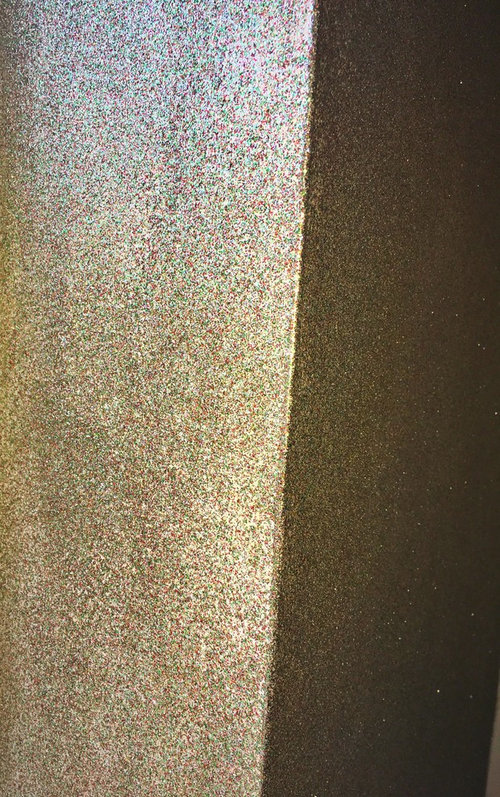
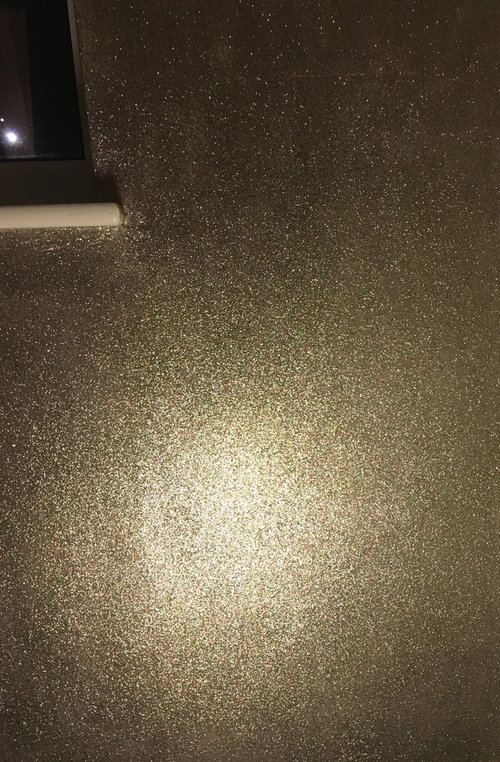
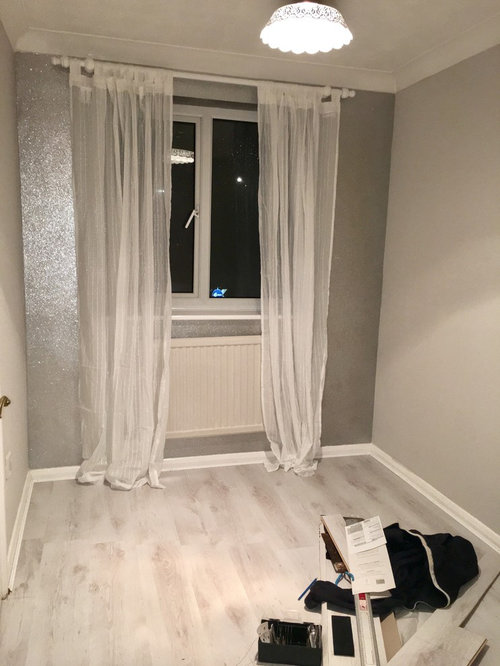
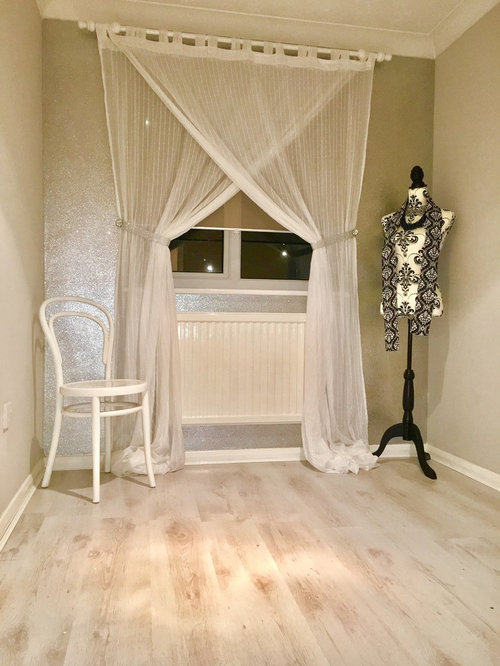
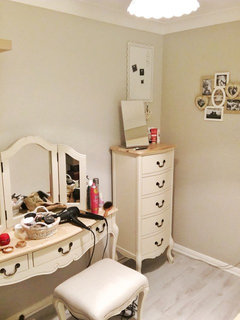
Glitter wall and dressing room
Tim Summers
7 years ago
last modified: 7 years ago


Featured Answer
Sort by:Oldest
Comments (9)

Victoria
7 years agoRelated Discussions
Walk in wardrobe/dressing room - Odd room! Help/Ideas please
Comments (7)Have a look at our pro page as we have some designs on there that suit sloped roof rooms - the secret is planning well to eek out as much storage space as you can. Sometimes, you can even access space behind the low walls into eves with drawer storage between the uprights ? (As long as this is done safely and no chopping out essential bits !!! ) so always good to have a professional install ! If you are in south of UK you could maybe look at Lamco ( they are on Houzz if you do a pro search ) As they make beautiful dressing rooms !...See MoreDress room waredrobes
Comments (10)I'd put the day bed in the opposite corner behind the door going lengthwise to the window. The day bed will be too high for the low window and may look odd. Plus, i think the change will allow for better wardrobe and drawer space. As it is going to double up as a guest bedroom, do you really want all of your stuff on show with open shelving? I'd maybe try the Ikea Pax system, easy to buy what you want and fairly easy to construct, but i would have doors. You have to decide between walk in wardrobe or bedroom with wardrobes. Alternatively, maybe consider a high bed with wardrobes and storage underneath with extra on the other walls. By having something purpose built it will allow for more versatility and more floor space. They certainly don't have to be childlike these days. I'd post dimensions if i were you,...See Moredressing room design help!!!
Comments (6)Morning! What a great creative exercise! First question - do you need this radiator to work? If not, then you could just turn it off and hide it at the back of a wardrobe (cut out a panel to get it in), or have it capped and removed rather than relocated. If you do, then Hannah's idea to have it under a dressing table is great! Warm toes too! There are a few things I recommend doing when you start a walk in wardrobe design - the first is to list the contents of your wardrobe currently - and then add some 'room to grow' for items that you see yourself buying more of. This gives you a really good idea of what you need; tall hanging, short hanging, shelves, drawers, jewellery/belts/accessories storage etc. This is just as relevant for IKEA furniture as it is for bespoke fitted units. Next is to consider whether you want closed doors, ie a dressing room, or open storage like a walk in wardrobe. The second may be better for a room with windows and boxings to negotiate, and you can get a joiner to create some divisions for you with rails and drawers for a similar cost to IKEA wardrobes which are a bit more limited in size. I can help with this if you like! I love designing storage! Would you like a half hour interior design consultation for some friendly one-to-one advice? I have a couple of slots each week for £125+vat. The consultation includes a friendly video chat to talk through your space and discuss your project ideas and needs. I follow up the video call with digital moodboards tailored to your budget, a layout suggestion and product recommendations. We can also have a chat by phone afterwards to talk through things. Definitely don't lose the window though! So few people get to have good natural light in their wardrobes! All the best, Christine....See MoreHidden door (from master bedroom to dressing room)
Comments (5)Hi, sounds fabulous! I believe the best way to tackle this is to use a pivot hinge on the door. See pic below, but I would place the pivot fairly close to one side so you still get a decent sized opening. Using a hinge like this means you will not need architraves inside that room and the plaster can go right up to the opening, allowing a smooth base for the mural....See More
Rachel Oakes
7 years ago
A S
7 years ago
Tim Summers
7 years agoTim Summers
7 years ago
Juliet Docherty
7 years ago


Corrie Strahan