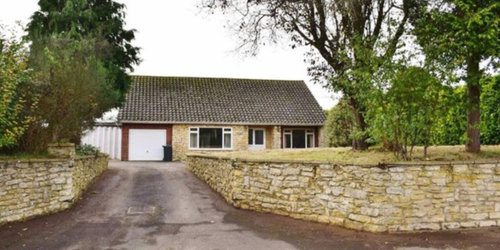
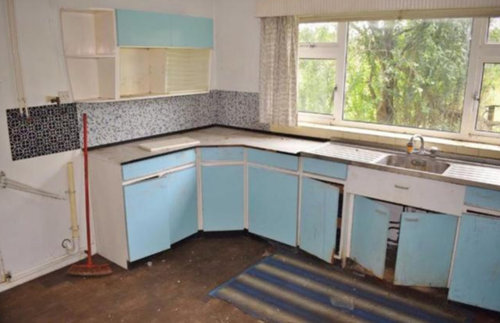
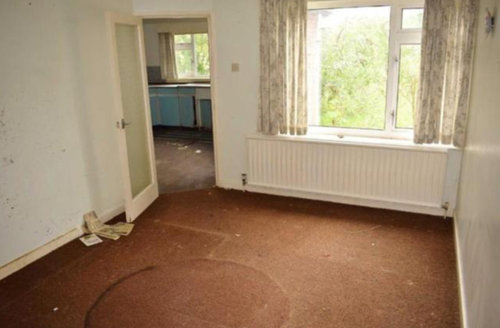
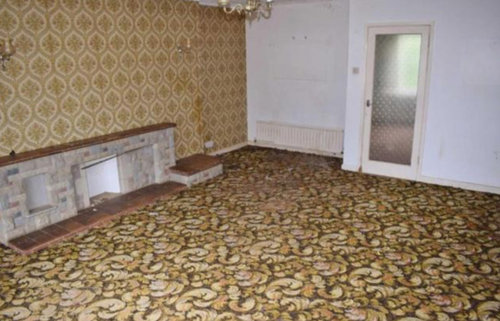
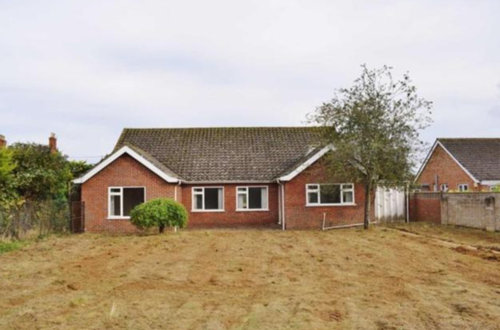
Welcome some advice on a 1960/70's bungalow renovation please
Julie Norris
6 years ago


Featured Answer
Sort by:Oldest
Comments (13)

Julie Norris
6 years agoRelated Discussions
Modernizing a 1960's semi-detached bunglow!!!
Comments (7)Hi, What a lovely place you have there. Bags of potential and some outside space too! I am with OnePlan I am afraid - I could do all the interiors bits and happy to make recommendations when needed but it is an architect or interior architect you will be looking for for any building work or planning. You could try the 'planning portal' if you have ideas you want to look into or even call your local planning office who should be able to point you in the right direction. Regarding interiors I would begin by looking at how you want to use the space. Spend a few days living in it and working out where you feel comfortable and like spending your time - what do you like, what don't you like and then start making some lists! All the best, Gina...See MoreIdeas to spruce up a 1960s house
Comments (35)Ha! an idea...one of our houses, the bungalow, is up for sale with Verity Frearson estate agents in harrogate & may give you an idea of what I have done to it. Its been up for sale for 3 weeks & we have 3 buyers in waiting (with houses to sell.) Its on their website & is 18 leadhall drive. When we bought it, it had upvc doors, & caravan windows at the front for privacy. At the back it had a utility room & a warren of little rooms with small windows commanding the best views of the south facing garden. The green in the bedroom photo isn't qyite as vile as it may look in the photo. If i did it again I would probably use steel/ aluminium windows at the back. I also love just one large picture window too. the doors internally, where they are not glass double doors, are the dordogne doors from Howdens which are very reasonable & add seem to suit many styles of houses rather than the usual panelled door. Mine are painted but they can be left wooden. we have another house, a victorian town house, but this is our favourite as it is like being on holiday each morning even in winter....See MoreBathroom design advice
Comments (4)Hi, Did you buy two of the Porcelanosa sinks as in the photo or are you installing just the one unit? Are you looking to keep your original toilet? As it looks similar to the one in the picture of your new sinks. Maybe a free standing bath with a metallic base to complement your taps. Add wainscoting - in dark colours to show off the statement sinks - either keeping the colour above plain or adding stunning wallpaper for extra zing. Add some shutter/blinds to your window to give a stylish finish (either half way or full length) Where your sink is going I would add a huge mirror. Also put in a wetroom style shower rather than the boxed in cubicle you currently have - this will add fluidity to the room and open up the space so it is one. Would love to see the finished look when you have completed your project. Good luck! Shannon...See MoreRenovating a 1960's 3 bed semi - help with layout and kerb appeal!
Comments (65)Hi all, Thank you so much for all the helpful comments and suggestions, and sorry that it's taken me so long to respond - house renovation and work have been keeping us on our toes! This has become a long post, so a quick reminder - we were looking to renovate and rewire our 60s house to update it and also make it more wheelchair friendly downstairs for when my mother-in-law comes to visit. We employed an architect and came up with what turned out to be an 'aspirational' design (much more than the budget!) so we ended up deciding to split things into two stages: Stage One to add a downstairs wetroom for accessibility, remove chimney throughout and add a porch Stage Two to do the extension across the rear, removing the conservatory to open out a large kitchen/diner and add a utility room The layout below shows both Stages One and Two as complete. Bits shown in red are existing walls which have been/will be removed (apart from the wall in red in the seating area below which is between the existing kitchen and dining room - that's a mistake). So.....the building work is now done - hurray! Stage One is complete, we are much poorer, and we now need to decorate the whole house :-) Some before and after photos below - please bear with the terrible photography skills. The rooms aren't big enough to allow for expansive photos!: We've re-plastered throughout, apart from in the kitchen and upstairs bathroom, as we'll deal with those later. Current challenge is deciding how on earth to pick paint colours and flooring throughout.... Anyway - hopefully that gives you a sense of where we've got to. Best wishes...See MoreJulie Norris
6 years agoJulie Norris
6 years agoJulie Norris
6 years ago


Jonathan