
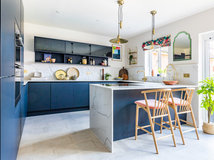
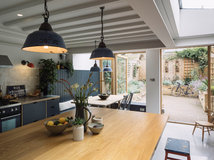


How to Add Character to Your Kitchen With Paint
A fresh coat of paint can totally transform your cookspace with the minimum of fuss and cost
Sophie Baylis
14 January 2017
Houzz UK Contributor: I'm a London-based freelance journalist with many years of experience writing about interiors for leading magazines in the UK and overseas. Follow me at @InteriorsInOut on Facebook and Twitter.
Houzz UK Contributor: I'm a London-based freelance journalist with many years of... More
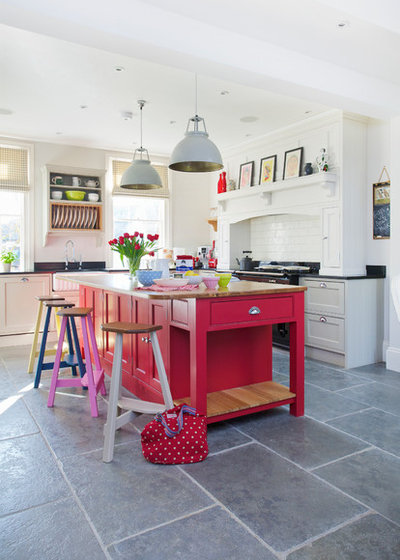
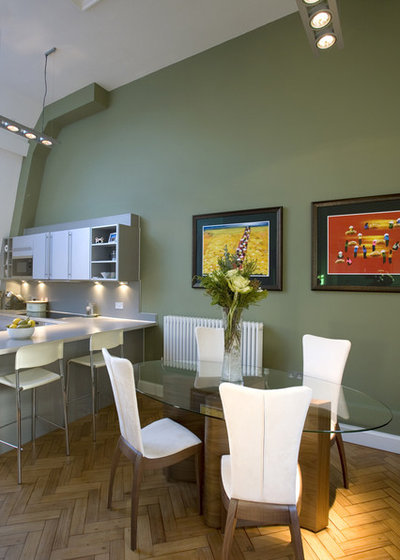
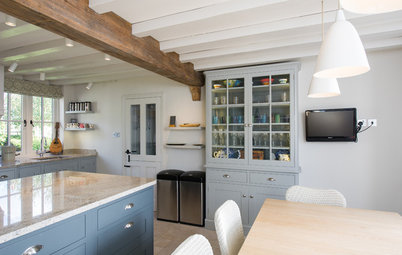
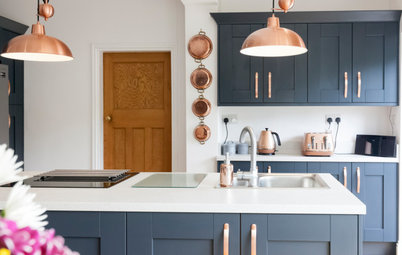
Your kitchen is meant to be the heart of your home – the place where everyone wants to hang out – but sometimes it doesn’t get the attention it needs to feel warm and inviting. The good news is that there’s a simple way to create a welcoming vibe. “Paint is a great way to bring a sense of homeliness into your kitchen,” says Annie Sloan, founder of Annie Sloan Interiors. “You can create beautiful, smooth, modern finishes, or something distressed, rustic and gorgeous.”
Check out these expert tips on how to get your kitchen’s new paintwork just right.
Professional advice from:
Adrian Lesicki of Adrian Lesicki Decorating; Annie Sloan of Annie Sloan Interiors; Helen Shaw of Benjamin Moore UK; Marianne Shillingford of Dulux
Check out these expert tips on how to get your kitchen’s new paintwork just right.
Professional advice from:
Adrian Lesicki of Adrian Lesicki Decorating; Annie Sloan of Annie Sloan Interiors; Helen Shaw of Benjamin Moore UK; Marianne Shillingford of Dulux
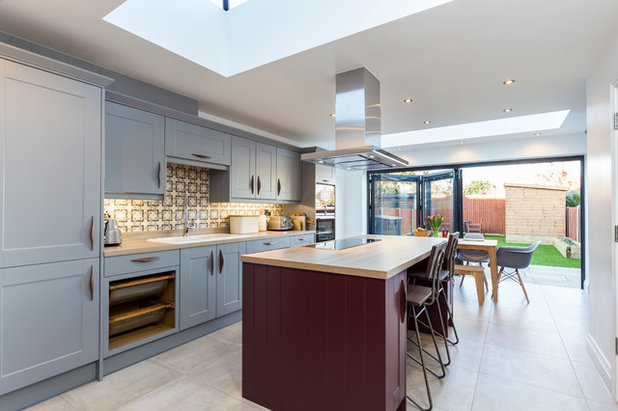
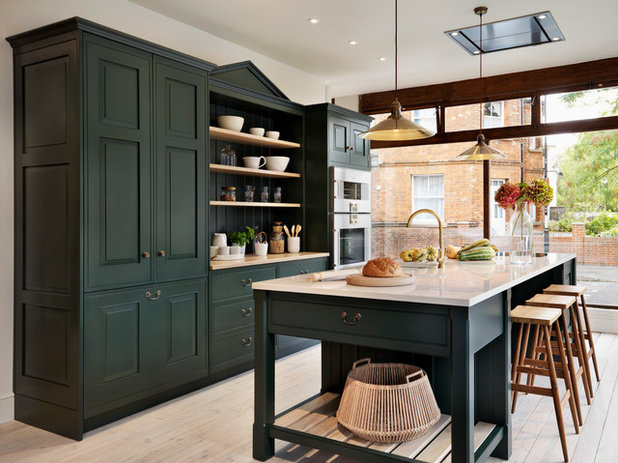
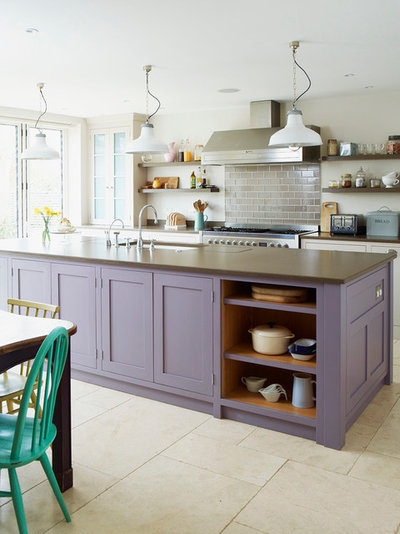
Choose paint that can take the pressure
Your kitchen is a high-traffic area, so it needs a paint that’s hard-wearing. “Kitchens are the culinary equivalent of a busy gym: hot, steamy and buzzing with activity,” says Marianne Shillingford of Dulux. “The paint you choose needs to be able to stand up to the pressure.”
Aim for a quality paint that will last – look for one that resists moisture, heat and grease, and which you can wipe clean without damaging the colour.
Realise the importance of prep
The secret to a successful paint finish is good old-fashioned preparation. Follow our steps to make sure your paint job stands the test of time…
Is blue your favourite colour? See inspirational ways to decorate with this popular shade
The secret to a successful paint finish is good old-fashioned preparation. Follow our steps to make sure your paint job stands the test of time…
Is blue your favourite colour? See inspirational ways to decorate with this popular shade
Step 1: wash your walls
Kitchen walls tend to get greasy with minute particles of airborne oil, especially around the cooking area. “It’s always a good idea to wash the walls with a sugar soap solution before you start decorating,” advises Shillingford. “It’s not a difficult job, but it can be awkward, so make sure you wear rubber gloves and safety goggles, especially if you’re working on the ceiling.”
Once the surfaces are clean, wipe them down with a damp cloth and check that they’re dry before painting.
Glossy surfaces need a different approach. “The best way to prepare them is to use fine sandpaper on the area so the new paint can adhere well,” says Helen Shaw of Benjamin Moore UK. “Make sure you remove any sanding dust and vacuum all surfaces. Then wipe them down with a clean cloth.”
Step 2: smooth the surfaces Once your walls and ceiling are ready, remove any loose paint from them. Fill any cracks or holes and sand the surface so the filler is flush to the wall.
Decorating a dark and dingy room? Discover the perfect paint colour for light-starved spaces
Decorating a dark and dingy room? Discover the perfect paint colour for light-starved spaces
Step 3: organise your space
If you can, move your furniture into another room or place everything in the middle of the kitchen and cover it. Don’t forget the floor – Adrian Lesicki of Adrian Lesicki Decorating recommends using dust sheets to protect it.
Protect your units, too. “Cover them in polythene sheets and masking tape, and don’t forget to mask up all switches and sockets,” adds Lesicki.
Apply your paint
Cut in the edges of the ceiling and walls (cutting in means using a brush to paint areas that are too tight for rollers), then fill in the big areas in-between with a roller, painting from top to bottom.
“Use an extension pole to make painting the ceiling easier and a small, long-armed radiator roller to get into the fiddly bits above and below the units,” advises Shillingford.
“Start with two coats on the ceiling and make sure the first coat is completely dry before beginning the second,” adds Shaw. “Then paint the walls, window frames and sills, radiators, skirting boards, doorway and, finally, the door.” Again, you might need to add a couple of coats to get your desired effect.
We advise painting one wall at a time, but if you’ve bought a particularly quick-drying paint, cut in the whole room and fill in each wall.
Pick the right primer
Anything is paintable if you have the right primer. “Difficult surfaces, such as laminate, high-gloss or factory finishes, can be prepared with an adhesion primer and then anything will stick to them,” says Shaw.
Rub down previously painted and varnished wood with fine sandpaper to create a key for the paint to adhere to. “Apply one or two coats of primer with a good synthetic brush or short-pile roller, followed by two coats of quick-drying satin, eggshell or gloss in your favourite colour,” advises Shillingford.
As a rule of thumb, kitchen cabinets need one coat of primer followed by two layers of top coat to get the best results. As with the walls, clean all surfaces thoroughly first.
Consider refreshing tiles
You can give old tiles a new lease of life with specialist tile paint. The result won’t be as tough as the original surface, so treat it with care. “Expect slightly less and treat the tiles more gently,” advises Shillingford.
Your tiles may be greasy or dirty, so give them a good clean before you start painting. Lesicki suggests using mould cleaner and sugar soap.
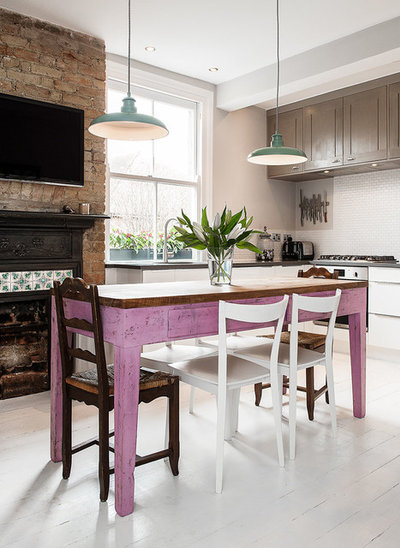
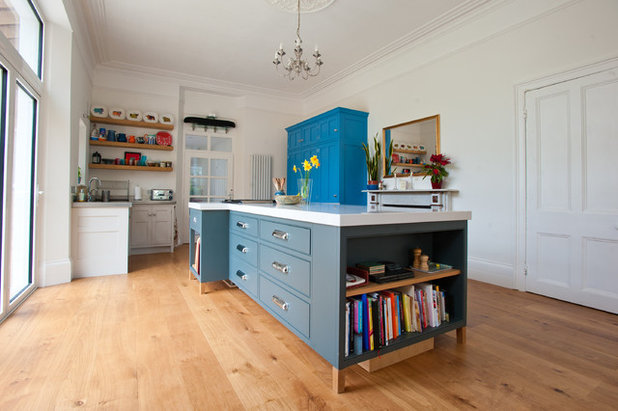
Reboot kitchen furniture
Upcycling an old piece of furniture might seem like a big job, but it’ll give your kitchen a personal touch.
“Before you paint a piece of furniture, it’s essential to make sure the surface is free of grease and dirt, so give it a clean with soapy water,” advises Sloan. “It’s also very important to seal the paint – I always apply a couple of coats of my Chalk Paint Wax, which makes the surface tough and wipeable. Avoid using bleach on the surface.”
Sloan also recommends ordering tester pots of your chosen paint. “It’s the best way to check that the colour you have is the one you want,” she says. “Colours look different in different lights, so it’s a good idea to test it in the actual room.”
Know the different types of paint
What kind of paint should you choose? It depends on how long you’re happy for your kitchen to be out of action.
For example, an alkyd paint is waterborne and therefore has no odour. “The technology in this type of paint means it will provide the highest levels of wear and tear, but it does take longer to cure and set than other paints,” says Shaw. “Once it’s completely dry though, it will provide the most durable and long-lasting finish.”
If you need your kitchen back in service quickly, use an acrylic paint. You’ll need to be gentle with it at first, as it takes time for its hardness to develop, but overall it will have a faster drying time. “It’s still highly durable, but in the long term it might not provide you with the strength of an alkyd paint,” says Shaw.
Want to know more about paint types? Check out this quick and handy guide
Pass on surplus paint
Always save a small amount of paint in a jam jar for touching up chipped walls. If you still have paint left, use it to upcycle an old kitchen table and chairs to match your walls, or give it to friends who feel inspired by your kitchen’s new look.
You can also donate it. “Offer the rest to local charities, who will often be happy to take it off your hands,” suggests Shillingford.
Find a decorator you trust
Aim to use a decorator who’s been personally recommended, or has lots of positive reviews online, and always try to see their work for yourself before you commit. Alternatively, find a decorator who belongs to a recognised trade organisation that fully vets and approves its members, and offers a guarantee on paint and workmanship. Finally, get three quotes before making your decision.
Have you ever used paint to transform your kitchen? What did you do (and what did you learn)? Share your stories in the Comments below.

Related Stories
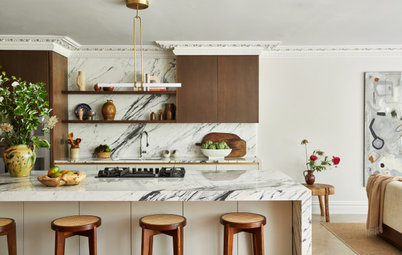
Kitchen Inspiration
10 Smart Storage Tips for Your Kitchen Bins
Keep kitchen rubbish stylishly tucked away with these clever solutions
Full Story
Kitchen Design
Which Kitchen Worktop Colour Should You Choose?
By tidgboutique
Consider these popular colours and styles to get the look you want, no matter which material you use
Full Story
Kitchen Inspiration
5 Inspiring Before and After Kitchen Transformations
Whether you want to boost storage, incorporate original features or maximise your space, take ideas from these designs
Full Story

Kitchen Inspiration
5 Ideas for Kitchen Extension Layouts in Victorian Homes
By Kate Burt
Embarking on a rear extension project? Need layout ideas? Look no further...
Full Story
Kitchen Inspiration
16 Kitchens With Vertically Stacked Tiles
Looking for kitchen tiling inspiration? Browse this gallery of beautiful designs
Full Story
Renovating
Should I Live On-site During My Kitchen Renovation?
By Kate Burt
If you’re weighing up whether to stay put or ship out during your project, this expert guide is a must-read
Full Story
Bedrooms
What to Expect at the Biggest Kitchen, Bedroom and Bathroom Show
Plan ahead with our rundown of what’s in store at the kbb Birmingham event this March
Full Story
Kitchen Design
Which of These Kitchen Renovation Trends Would You Choose?
By Kate Burt
The 2024 Houzz Kitchen Trends Report is out. Dive into the highlights to see what’s topping your choices
Full Story
Kitchen Inspiration
24 Beautiful Bare Wood Kitchens
By Kate Burt
From pale and pared back to warm and textured, unpainted cabinets are suddenly everywhere. Which look do you like best?
Full Story
Kitchen Planning
How to Design a Multigenerational Kitchen
A space that successfully meets the needs of all those who use it is not only inclusive, it’s futureproof
Full Story
Thanks for featuring us, if your interested come and check out more projects on our profile.
Thanks