7 Common Wetroom Mistakes and How to Avoid Them
Follow this expert guide for a wetroom that’s watertight, works well and is a joy to use
A lot can go wrong in a room that fills with water, but, with a little forethought, it’s possible to avoid pitfalls in your wetroom. Here as part of our Bathroom Planning guide, three professionals reveal what not to do in order to design a successful showering space.
Professional advice from: Justine Bullock of The Tap End; Cat Hoad of Absolute Project Management; Roxanne Voskuijl of BathroomsByDesign
Starting your bathroom project? Read How to Plan for a Bathroom Renovation
Professional advice from: Justine Bullock of The Tap End; Cat Hoad of Absolute Project Management; Roxanne Voskuijl of BathroomsByDesign
Starting your bathroom project? Read How to Plan for a Bathroom Renovation
Mistake 2: Not preparing and waterproofing or tanking the area properly
When installing a wetroom, it’s vital the room is fully waterproofed. “If you don’t waterproof the room properly, you risk a leak that might not only cause damage in the bathroom, but also in the rest of the house,” Roxanne says. It could end up costing more money than the original bathroom project.
The solution
“Preparing the sub-base of the floor carefully is crucial,” Cat Hoad says. “Get test holes done, so you can check if the floor will need levelling or repairing ahead of the works.”
Cat explains that a test hole usually involves opening up a small section of wall by removing the plasterboard to reveal the network of pipes. “By identifying key elements before full strip-out, you can better plan the works, timeline and costs,” she says.
Even if a shower screen is installed to create a wet area or walk-in shower, it’s still advisable to waterproof the entire room or, at the very least, the floor and walls in the shower area.
More: How Easy Would It Be to Change My Bathroom Layout?
Mistake 3: Using an inexperienced fitter
A good installer is always key to achieving a good bathroom finish. This is even more important when it comes to wetroom installations, say our experts.
The solution
“Do a bit of research online, and write a list [of queries] to ask any prospective fitter,” Justine says. “If they stumble or can’t answer basic questions, don’t get them to fit your wetroom.”
She recommends you ask to see photos of other jobs or, even better, see other jobs if you can. “Previous clients are usually more than happy to show you someone’s work if they were pleased with it,” she says.
“There are lots of things to take into consideration when planning or designing a wetroom,” Roxanne agrees. “If you [do it] without professional help, the project can be very stressful, be difficult and often end with errors.”
Ready to revamp your bathroom? Read client reviews for bathroom designers in your area and see photos of their recent projects.
Mistake 4: Not getting the floor angles right
“If the angles are wrong or the tiling isn’t done properly, you’ll end up with puddles and, in due course, leaks where the grout or silicone fails,” Cat says.
Tileable wetroom shower trays have a slight gradient to ensure water flows towards the drain. “Failing to select a tray with the most suitable drain configuration or installing a wetroom tray with an inconsistent or incorrect gradient may result in water pooling, water stains and damage to floor tiles,” Roxanne says.
The solution
“Consider waste routes and falls, and you need to know where your waste pipe is and how much fall you need in order to confirm the finished floor height,” Cat says.
Depending on the floor build-up and soil stack, you may need a step up into the showering area to allow for the required drainage underneath. The soil stack is the thick pipe that takes away used water and sewage.
“The pipe has to be inclined to take waste away effectively, so if you’re moving the position of the shower, you need to make sure you have enough height to allow for the minimum incline required,” Cat explains. “If you can’t achieve this, you might need to make the shower tray higher than the floor so the drain underneath works properly.
“Again, get test holes done before starting the works – and ensure this is designed in from the start,” she continues. “Ask your installer how they’ll get the falls correct and make sure the builder and tiler are in agreement with who will prepare what and by when to avoid confusion or delays.”
To ensure the fall of the water is consistent and correct when selecting and installing a tileable wetroom tray, there are a few key things to keep in mind, Roxanne says. “Ensure tiles are cut and laid appropriately and make sure the drain is in the most suitable position to avoid water flowing towards any other areas of the bathroom.”
Mistake 5: Not choosing the right-sized shower tray
Failing to select the right size tray may cause water pooling, which creates a slip hazard and can result in mould growth, water damaged grout and detached tile adhesive over time, warn our experts.
The solution
“You want the wetroom tray to cover the entire width of the shower area. Length-wise, you want to make sure any water that ends up further away on the floor will flow towards the drain because of the gradient,” Roxanne says. “This means you need the wetroom tray to be as long as possible, ideally 1,600mm.
“Consider underfloor heating, so any small splashes of water that end up outside the shower area can be soaked up by its radiant heat,” she adds.
More: How to Choose a Shower Tray
Mistake 6: Using cheap or inappropriate products
Be wary of using poor-quality products for things you don’t see, such as the base, tanking and waste.
Also, consider those products you do see, such as floor tiles. “Polished tiles look great, but add a little water and soap and they become ice rinks, so they’re not for the faint-hearted,” Justine cautions.
The solution
“Many consumers take the approach of saving on the hidden elements and spending on the seen elements of a bathroom,” Justine says. “But anything tiled on, hidden, concealed or in floors or walls that you can’t get to easily after the bathroom is finished should be invested in, so you have the very best quality and it doesn’t cause you issues down the line.”
In terms of flooring, specify anti-slip tiles as standard on a wetroom floor – not polished tiles. “Lots of tile ranges have an anti-slip version to match polished and natural versions, so always go for that – safety first,” Justine advises.
“Choose good-quality fittings, especially when it comes to taps,” Cat says. “If they’re concealed, you’ll need to rip up the tiling to fix problems.” Quality fittings make those problems less likely to occur in the first place.
More: Where to Spend and Where to Save on a New Bathroom
Mistake 7: Not considering cleaning and maintenance
Many people use mosaics on a wetroom base. They look great and provide good slip resistance, because of the grout lines. However, Justine adds a caveat. “Cleaning all that grout is time-consuming and it never looks as good as new down the line,” she says.
The solution
“The bigger the better on tiles in a wetroom area,” Justine says. “The less grout there is, the easier the area is to clean.” She advises going for darker grout from the outset, so you don’t notice discolouration, which is inevitable in paler shades.
“Clean frequently and ensure the grout and silicone are always in pristine condition,” Cat adds. “Fill any holes immediately. Plus, don’t forget to add a vent to avoid steam and condensation. This will also help with the cleaning.”
More: How to Design a Bathroom That’s Easy to Clean
Tell us…
Are you planning to turn your bathroom into a wetroom? Did you find these tips useful? Share your thoughts in the Comments.


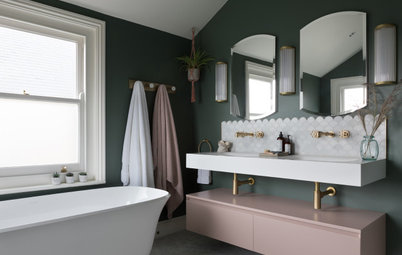

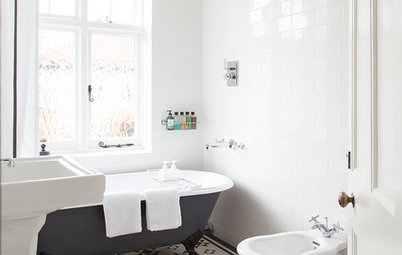
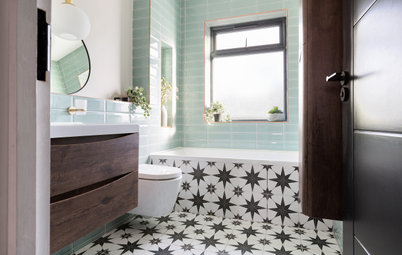
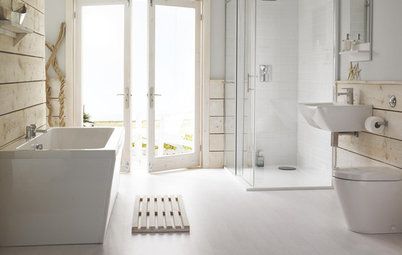
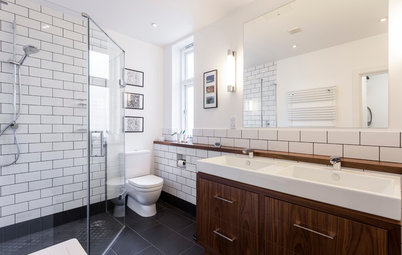


An open or true wetroom has no screens at all. “Water bounces, and I mean bounces, off a body, so everything gets wet,” Justine Bullock says. “Furniture will get splashed and delaminate and paint on furniture will be affected over time.”
The solution
If your wetroom contains furniture and surfaces that aren’t water-resistant, Justine recommends adding a walk-in shower screen.
“These are simple and minimal on the metalwork, so are easy to clean,” she says. “They give a bit of protection from splashes.”
“Make sure your glass panel is as long as it can be in the space you have (at least 1,000mm), with a big enough entry to walk through (around 600mm),” Roxanne Voskuijl says.
A swivel panel – a separate, slim section of glass hinged to the main screen – is also helpful. “This can be folded in when you want to enter the shower and folded out when you’re showering,” Roxanne says. “Also, if your vanity unit is positioned at the end of your shower, installing an end panel will help to protect it.”