


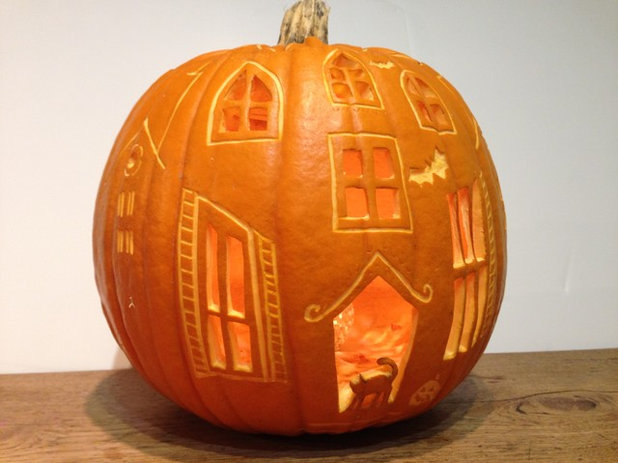
Craft: How to Carve a Haunted House Pumpkin
Each year, pumpkin carving gets more creative. Take first prize this Halloween with our step-by-step guide to creating a haunted house
Amy Webster
31 October 2014
Houzz Contributor
Do you have a competitive pumpkin carver on your street? These days, it’s not enough just to carve a couple of eyes and a mouth – pumpkin carving is turning into a creative sport. Hold your own this year with this simple step-by-step guide to carving a haunted house pumpkin.
Once you’ve chosen your pumpkin, give it a good wash and dry before beginning to carve your design. Removing any bacteria at this stage will help to prolong its life.
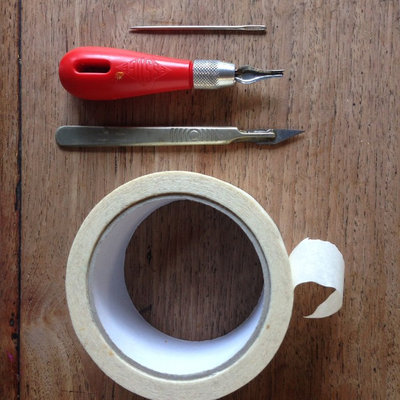
You will need:
Pumpkin
Knife
Scalpel
Lino-cutting tool
Spoon or ice-cream scoop
Masking tape
Large needle
Pen
Bowl for the flesh and seeds
Tea light in a glass holder
Pumpkin
Knife
Scalpel
Lino-cutting tool
Spoon or ice-cream scoop
Masking tape
Large needle
Pen
Bowl for the flesh and seeds
Tea light in a glass holder
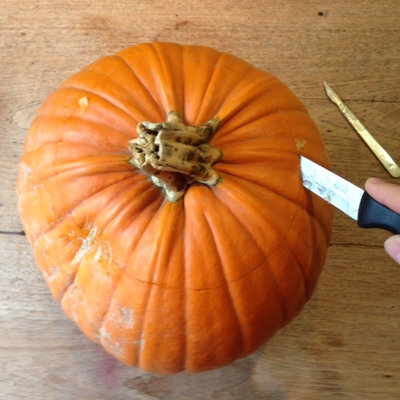
1 Using your sharp knife, cut a ring into the top of your pumpkin and remove the top section.
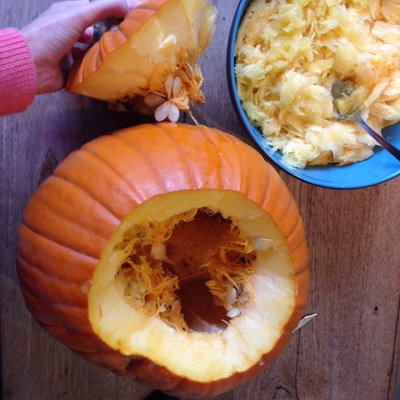
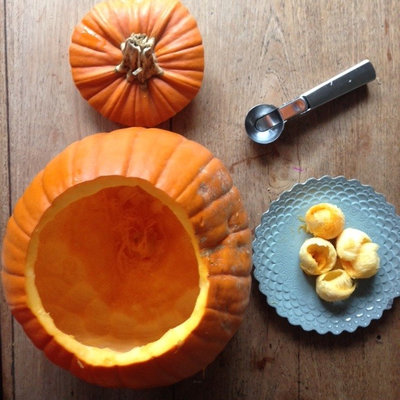
3 Using your hands, a spoon or an ice-cream scoop, scrape away the inside of the pumpkin. Ensure the bottom is level to allow the candle to sit safely in place.
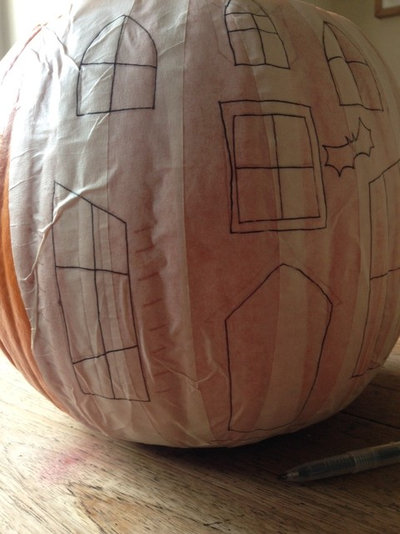
4 Decide which side is going to be your front and cover this area in masking tape. If you feel confident in drawing out your design, roughly sketch it directly onto the masking tape.
Alternatively, you can use a template or a tracing for the windows and doors and simply tape these onto the masking tape.
Alternatively, you can use a template or a tracing for the windows and doors and simply tape these onto the masking tape.

5 To transfer this design onto the pumpkin, trace around the lines of your design using a large needle, making a pattern of tiny holes on the pumpkin skin. Remove the masking tape and you will see a dotted outline of your design.
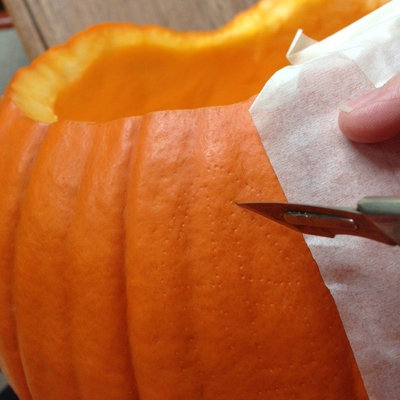
6 Using a scalpel, carefully cut into the pumpkin following the dots. Remove chunks of the pumpkin to make the window and door holes.
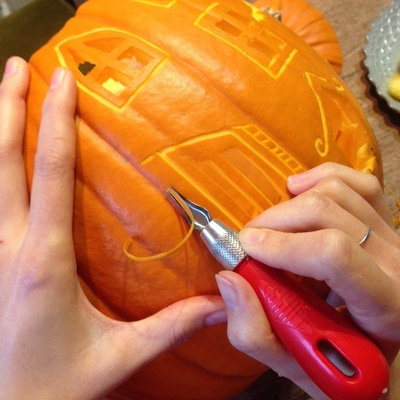
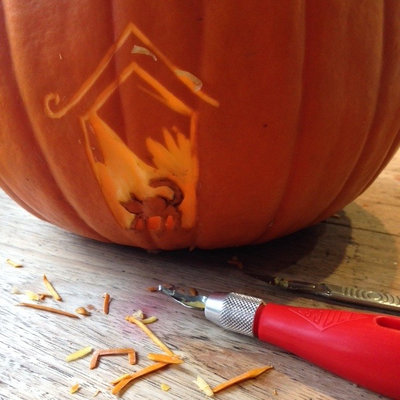
7 The lino-cutting tool is excellent for carving details, such as the shutters, window edges and bats. Remove just a thin layer of the pumpkin skin and the light will still shine through. Apply even pressure to the cutter as you move along to keep an even width of line. A softer touch gives a thinner line and vice versa.
I used the tip of the blade, which is curved, to indent semicircular patterns to add detail around the door and roof tiles.
I used the tip of the blade, which is curved, to indent semicircular patterns to add detail around the door and roof tiles.
8 Where there are tricky detailed lines or curves, use the lino tool to cut away layers of skin around the shapes first. Then use the scalpel to carefully remove the flesh.
Discover how to host a creative ‘crafternoon’
Discover how to host a creative ‘crafternoon’
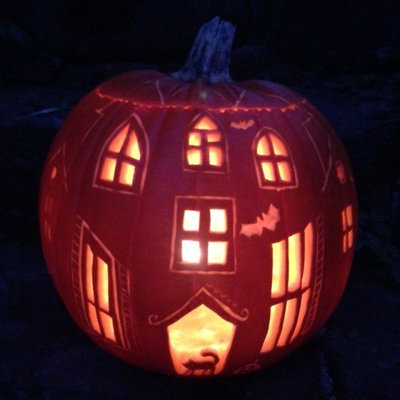
9 Once you have completed carving your design, simply position a tea light (in its holder) flat on the bottom of the inside of the pumpkin. Light the candle and place the lid back in position. Then turn the lights out and watch it glow!
TELL US…
Are you carving a pumpkin this year? Please share photos of your creations in the Comments below.
TELL US…
Are you carving a pumpkin this year? Please share photos of your creations in the Comments below.

Related Stories
Christmas
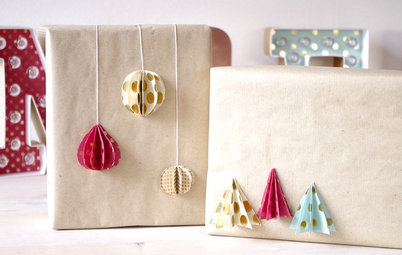
25 Easy Ideas for Homemade Christmas Decorations and Gifts
Give the festive season a personal touch this year with these make-your-own gifts, ornaments, wreaths and more
Full Story

Craft
How to Craft a Personalised Picture Frame Shelf
If your home is strewn with random tiny toys and lone marbles, try turning them into a fun shelf with this easy guide
Full Story
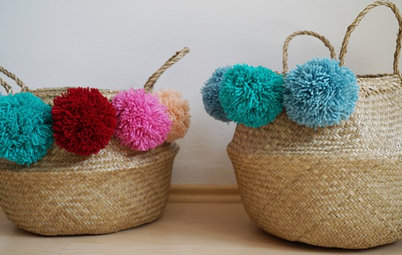
Decorating
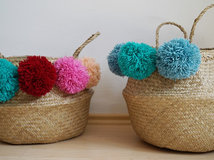
Easy-to-make Pompom Decorations to Pretty Up Your Storage Baskets
By Sarah Arlt
Brighten up plain baskets with a ring of colourful woollen pompoms
Full Story
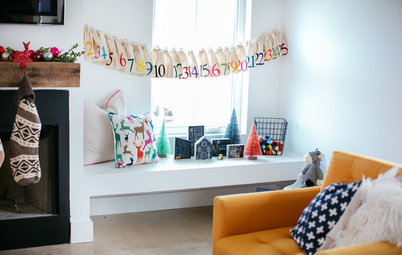
Craft
11 Ways to Bring Your Home to Life with Handmade Touches
By Cheryl F
Add charm and personality by displaying original crafty elements around your home
Full Story
Craft
Give Gifts a Unique Twist With These Folded Paper Decorations
Surprise your loved ones with these small gift embellishments that take just 15 minutes to make
Full Story
Christmas
Quick Ways to Personalise Your Christmas Decorations and Gifts
By Brandi Hines
From creating a winter scene to making your own gift wrap, see how to put the finishing touches to your Yuletide prep
Full Story
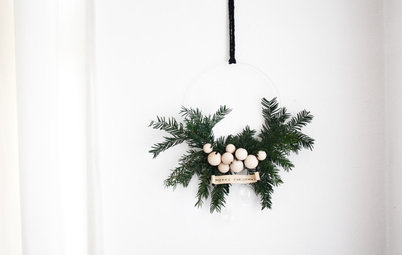
Christmas
How to Make a Beautifully Simple Fir Wreath
Using only fresh fir sprigs and wooden balls, this easy-to-make wreath will bring a wonderful festive mood to your home
Full Story

Craft
How to Make Winter-scented Potpourri in Four Easy Steps
By Manuela Fucà
Mix up your own natural potpourri with fruit, pine cones and spices to perfume your home or give as a gift
Full Story
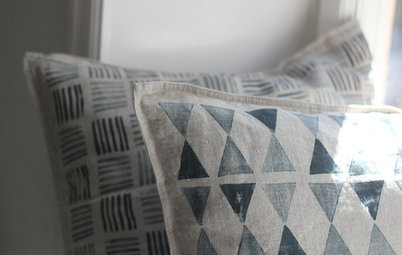
Craft
4 Easy Steps to Making Your Own Graphic Cushion Cover Prints
By Lovisa Häger
DIY expert Lovisa Häger shows how simple it is to turn classic potato prints into stylish cushion covers
Full Story

Bathrooms
How to Make Stylish Concrete Storage for Jewellery and Cosmetics
By Lovisa Häger
DIY expert Lovisa Häger shows how easily you can create concrete cones and trays for anything from rings to perfumes
Full Story
I like this pumpkin carving thing