


Here’s All You Need to Know About Composting in Winter
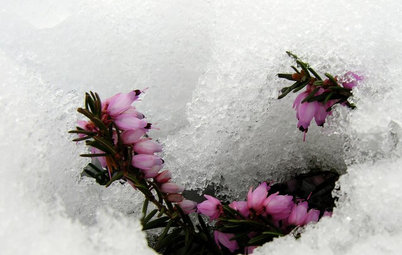
Find out how to keep your compost pile hot when the weather outside is freezing cold
Marianne Lipanovich
29 November 2017
Houzz Contributor. I'm a California-based writer and editor. While most of my projects are garden-based, you might also find me writing about home projects and classical music. Away from the computer, I'm found in the garden (naturally), on my bike, or ice-skating outdoors (yes, that is possible in California). I'm also willing to taste-test anything that's chocolate.
Houzz Contributor. I'm a California-based writer and editor. While most of my projects... More
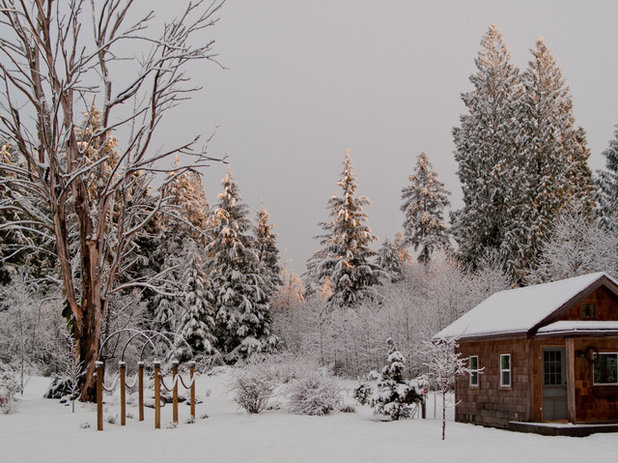
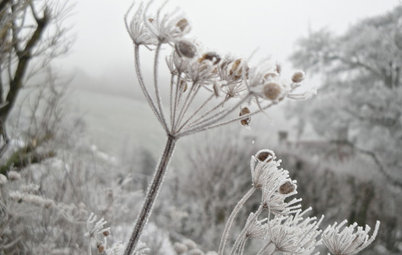
Just because the weather has turned chilly – or even downright icy – doesn’t mean your outdoor compost pile needs to hibernate for the winter. After all, you still have kitchen scraps, leaves and other materials to get rid of.
It’s relatively simple to keep composting outside in the winter, even in really cold weather. Your compost pile won’t be quite as productive, but that’s OK – you’re not going to be gardening through those months anyway. Come spring, you’ll have a head start on producing compost for the rest of the year.
The following steps will help ensure you can keep composting outside throughout the winter.
How involved you get with composting in winter depends on how ambitious you are, but for the most part, you don’t have to do much. The smaller your compost pile, the more likely the process will slow to almost nothing or even stop in the coldest months.
Your primary goal is to keep the centre of your compost pile or bin hot enough to allow the bacteria inside to do their work. The best way to do this is simply to add material and let nature take its course. Most experts don’t recommend turning the pile much, if at all, during the winter months.
Help your compost pile by cutting up or shredding your additions, especially the brown materials. The smaller the pieces, the faster they’ll decompose.
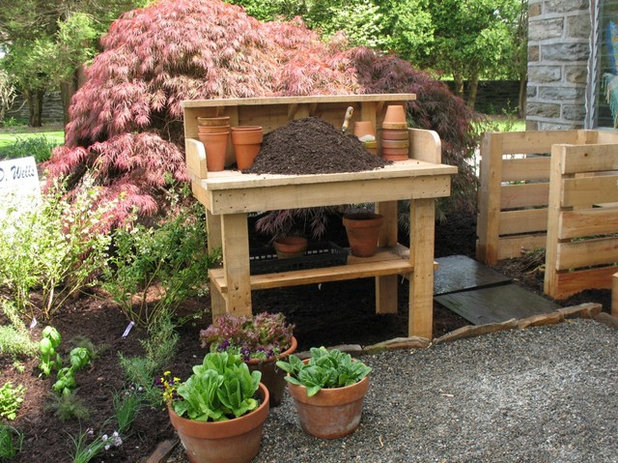
Composting basics
Compost piles and bins vary greatly in size and complexity. The type you need depends on your own personal preference and how much material you produce for composting – a single person with a small garden will have far less to compost than a family of four or more with a large plot. If the process seems overwhelming, just start with something small.
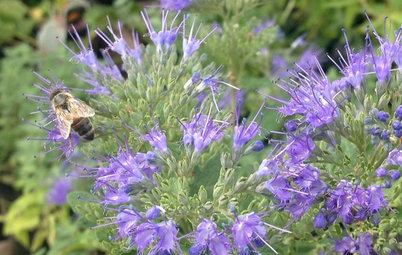
The general guidelines for composting remain the same, summer or winter. You want to add a mix of “green” materials, which provide nitrogen. These include kitchen scraps, coffee grounds and plant trimmings. You can also add pesticide-free and, preferably, herbicide-free green grass clippings. Just spread the latter out so they don’t mat together and deprive the pile of essential oxygen.
You’ll also want to include “brown” materials, which add carbon. Some good options include cardboard (cut up so it decomposes more quickly), newspaper, brown paper, leaves, dried grass clippings, browned thatch, sawdust and wood shavings.
Add twice as much brown material as any green material to the pile. For best results, layer so the brown materials are on the bottom and the top of the pile. Finally, add some water. Grey water from the kitchen or shower works well. This keeps the pile moist. Turn every few days to every couple of weeks from spring to autumn, depending on how dedicated you are. Turn sparingly in winter, if at all. You don’t really want to disturb the warm centre too much, and it’s way too much work if you have a lot of snow.
Compost piles and bins vary greatly in size and complexity. The type you need depends on your own personal preference and how much material you produce for composting – a single person with a small garden will have far less to compost than a family of four or more with a large plot. If the process seems overwhelming, just start with something small.
The general guidelines for composting remain the same, summer or winter. You want to add a mix of “green” materials, which provide nitrogen. These include kitchen scraps, coffee grounds and plant trimmings. You can also add pesticide-free and, preferably, herbicide-free green grass clippings. Just spread the latter out so they don’t mat together and deprive the pile of essential oxygen.
You’ll also want to include “brown” materials, which add carbon. Some good options include cardboard (cut up so it decomposes more quickly), newspaper, brown paper, leaves, dried grass clippings, browned thatch, sawdust and wood shavings.
Add twice as much brown material as any green material to the pile. For best results, layer so the brown materials are on the bottom and the top of the pile. Finally, add some water. Grey water from the kitchen or shower works well. This keeps the pile moist. Turn every few days to every couple of weeks from spring to autumn, depending on how dedicated you are. Turn sparingly in winter, if at all. You don’t really want to disturb the warm centre too much, and it’s way too much work if you have a lot of snow.
While autumn leaves can be great fodder for the winter compost pile, too many of them may upset the overall balance. Keep the ideal ratio of no more than two-thirds leaves to every one-third of green waste. It’s also best to shred them so they don’t become matted.
Avoid using leaves from evergreen trees, as they decompose even more slowly than other tree leaves. Also steer clear of leaves from black walnuts and eucalyptus, which contain a natural herbicide. Use oak leaves sparingly, as only 10 to 20% of your brown material.
If you have an abundance of leaves or simply don’t want to shred them, consider starting a leaf pile in another corner of your garden. They’ll decompose even more slowly than a standard compost pile, but if you’re willing to wait, you’ll eventually have a great mulch to add to your garden.
Read a beginner’s guide to pruning
Getting started
The easiest approach is simply to keep adding to your pile or bin throughout the winter. You might not end up with as much compost early in the spring, but things will quickly warm up and start producing when the weather changes.
If you keep your compost in a simple pile, locate it in a spot in full sun, if possible, and aim for a cubic metre of material. This will ensure there’ll be enough insulation to keep at least the centre of the pile warm.
You may also need to dig into the pile or remove any snow or ice to add more material throughout the winter.

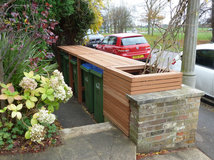
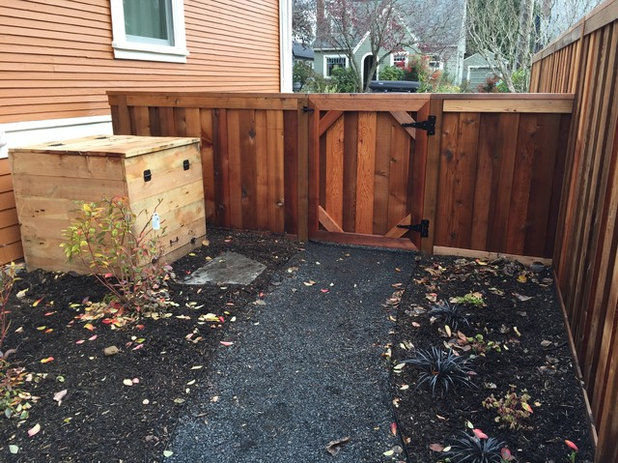
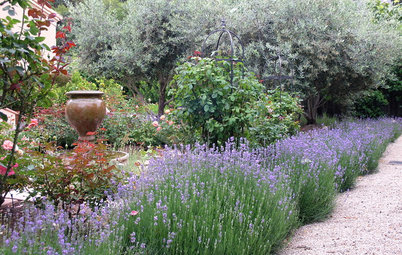
To add a little more winter protection and help keep things tidy, you can build walls around your pile. Though there are some elaborate systems, such as the one seen here, you can also use breeze blocks or even straw bales to corral your compost.
Building against a south- or west-facing wall or fence also takes advantage of reflected solar heat to keep the compost warm.
Check out what you need to do in the garden in December
Building against a south- or west-facing wall or fence also takes advantage of reflected solar heat to keep the compost warm.
Check out what you need to do in the garden in December
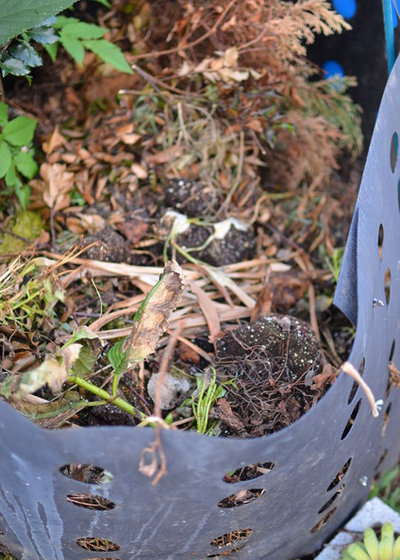
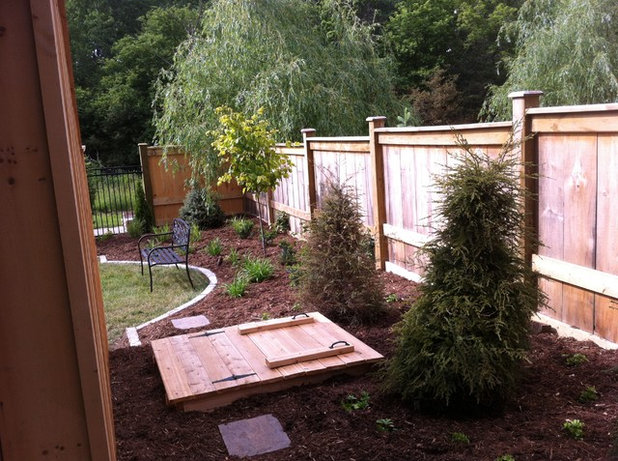
A hinged roof serves three purposes: it deters larger animals who may be looking for a bite to eat; it helps keep your compost warmer, and it shields the compost from rain and snow.
While you need to add moisture from spring through to autumn to keep the pile moist, or even in winter if low humidity or winds dry things out, too much rain or even an overload of snow can “drown” the microbes in the pile. If this happens, adding more brown materials, such as shredded cardboard, can help to absorb the moisture.
While you need to add moisture from spring through to autumn to keep the pile moist, or even in winter if low humidity or winds dry things out, too much rain or even an overload of snow can “drown” the microbes in the pile. If this happens, adding more brown materials, such as shredded cardboard, can help to absorb the moisture.
Another approach is to bury your compost in your garden. It’s a bit more work to set up and maintain, as you have to dig out an area for your compost and then look after it, including keeping the materials in place and discouraging animals. If you choose a spot where you’ll be planting in spring, such as a vegetable garden, you’ll end up with plenty of ready-to-use materials already in place.
One way to do this is to designate a row of your vegetable garden after you’ve harvested everything as your compost row. You’ll probably want to dig a little deeper into the soil to provide some insulation for the materials. Then simply fill in with your kitchen scraps and other composting materials.
Another option that’s somewhat tidier is to cut the bottom out of a plastic rubbish bin and bury it in the soil, which provides insulation to keep things warm. You may need several, depending on how much green waste you normally produce.
To keep things even tidier, you can add a roof or tarp over the pile as well.
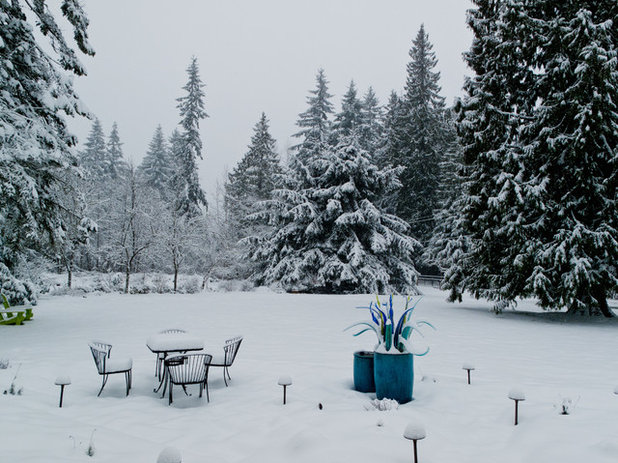
Then relax and enjoy the winter landscape, knowing that, come spring, you’ll have a head start on free, homemade fertiliser for a beautiful and productive garden.
Do you compost? Please share your tips in the Comments section.
Do you compost? Please share your tips in the Comments section.


Related Stories
Gardens
How Do I Create a Drought-tolerant Garden?
By Kate Burt
As summers heat up, plants that need less water are increasingly desirable. Luckily, there are lots of beautiful options
Full Story
Gardens
Some of the Best Plants to Add Colour to the Garden in Autumn
Check out these early autumn plants that will bring beautiful hues to your outdoor space
Full Story
Gardens
7 Planting Tips for Novice Gardeners
Discover the key things you need to consider when planning the planting in your garden
Full Story
Gardens
How to Make Your Garden Feel More Private
By Kate Burt
Whether you’re overlooked from above, live on a busy street or want to block out noise, explore these privacy solutions
Full Story
Gardens
What Do I Need to Do in the Garden in November?
Clipping, planting, protecting – there’s still plenty to do in the garden this month, as these expert tips show
Full Story
Gardens
9 Autumn Plants Pollinators Will Love
Keep bees, butterflies and other insects happy throughout autumn by growing some of these flowers in your garden
Full Story
Gardens
10 Easy Ways Your Garden Can Help to Support Bees
It’s hard to grow fruit and veg without these tiny, hardworking insects, so what can we do to help them in return?
Full Story
Gardens
How to Create a Spirit-lifting Sensory Garden
To boost everything from memory to wellbeing, why not create an outdoor escape that awakens all the senses?
Full Story
Gardens
What to Do in the Garden Each Month
Find out which jobs to tackle over the course of a year in this handy compilation guide
Full Story
Gardens
What Do I Need to Do in the Garden in January?
The New Year is here, so now is the time to prepare for the gardening year ahead with judicious pruning, early planting and indoor tasks
Full Story
Harrod Horticultural sell a range of compost bins for different size gardens and a popular UK designed and manufactured 3 bay system to allow continuous year round composting
Harrod Horticultural
Lovely article, thanks. And I didn’t see any plastic - hooray!
I despise the words getting older and senior but that's where I'm at in my life. I love gardening and I want to figure outs easier ways to work in the garden without hurting myself. Composting is one of the most important tasks in creating new gardens; it brings life to lifeless soils, encourages robust, healthy growth, and makes my new garden look like it's been there longer than it has. I no longer turn my compost. I've never sifted my compost and now, I barely move my compost. With each new garden bed, I try to locate the perfect spot for my generic black composter. In doing so, I don't have to move heavy compost great distances. I understand it's better for generating heat if composters are black, but I want my humble composter to look more artistic in my garden. I spray paint heavy, artistic items black oiled bronze and place them on top of the composter. I fill the composter in layers: ground up leaves, clippings, kitchen waste, egg shells and coffee grounds. Also, about four different times I will add in a layer of finished organic compost to help it break down. When it's full, I wiggle off the composter and relocate it to the next new garden area needing compost. Then, I do one of two things to the pile of compost left behind: I either top off the pile with some finely ground mulch and let it sit for a couple months until I'm ready to spread it, or I spread the unfinished compost right away with a strong metal rake and top it with a layer of finely ground mulch. Either way, it continues to break down (sheet composting), and I don't have to see egg shells and unfinished compost. Even in winter my composter looks good sitting in my garden, waiting for Spring.