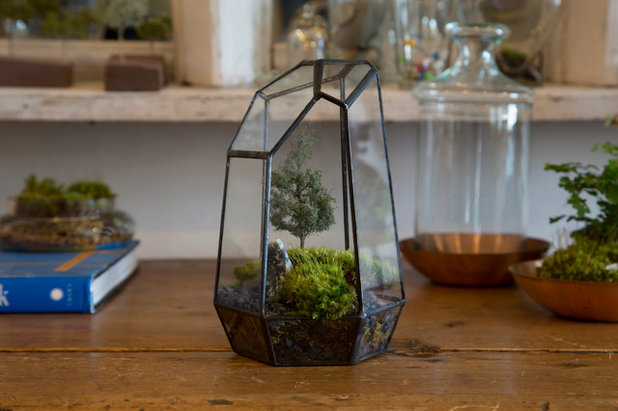
How to Make a Beautiful Moss Terrarium
This easy-to-assemble terrarium brings the joy of moss to your tabletop or shelf
Annie Thornton
23 April 2016
Houzz Editorial Staff
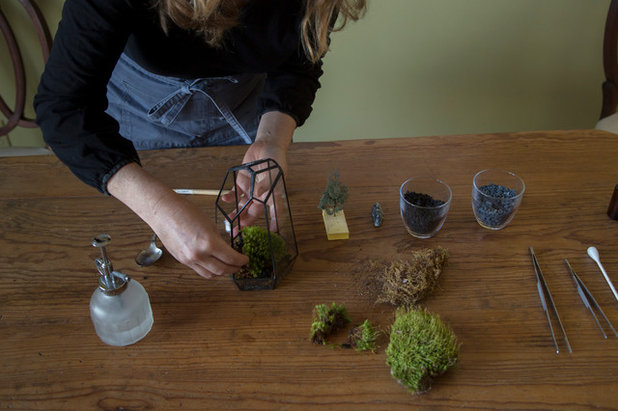
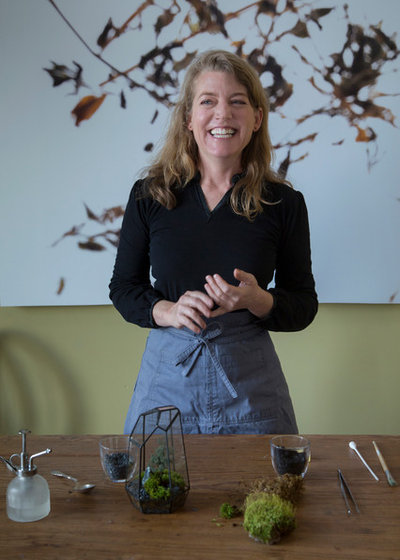
Moss is beautiful, even when poking through the cracks of a decrepit pavement or sprawling over a crumbling wall. It’s a plant that begs to be touched and invites a closer look. Follow along as Baylor Chapman of San Francisco’s Lila B Design demonstrates how to put together a mini moss terrarium that’s sure to inspire joy and a sense of calm in any home.
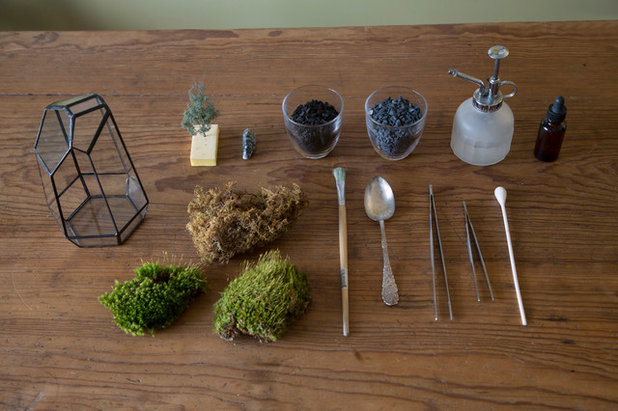
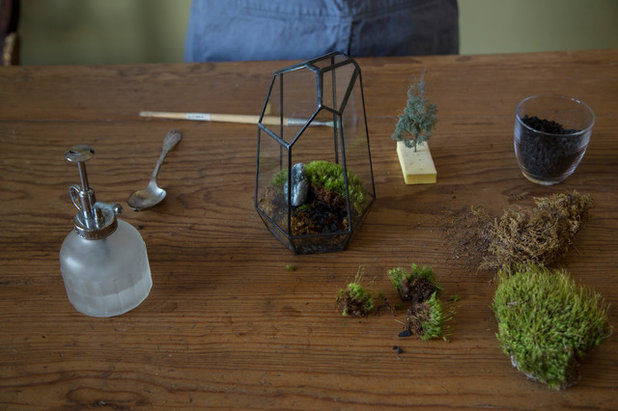
Plant Materials
Other Materials and Tools
- Sheet moss
- Cushion moss
Other Materials and Tools
- Glass vessel with an opening (a cylinder vase or ball jar could work)
- Spoon
- Rock
- Spray mister
- Paintbrush
- Activated charcoal pieces (available in the aquarium section of a pet shop)
- Decorative pebbles (aquarium pebbles work well)
- Extra-long tweezers or tongs
- Extra-large cotton swab
- Medicine dropper
- Architectural tree model (or any other accessories you’d like to place in your terrarium)
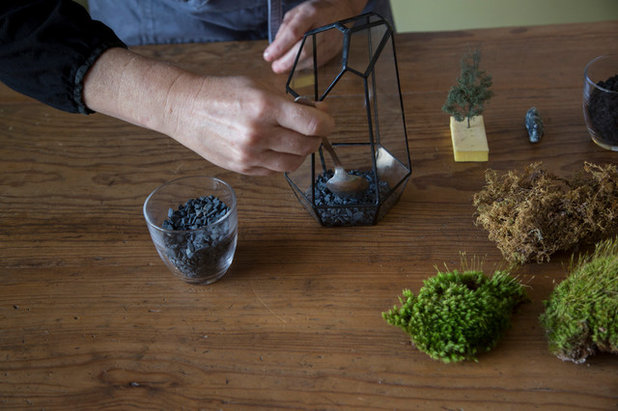
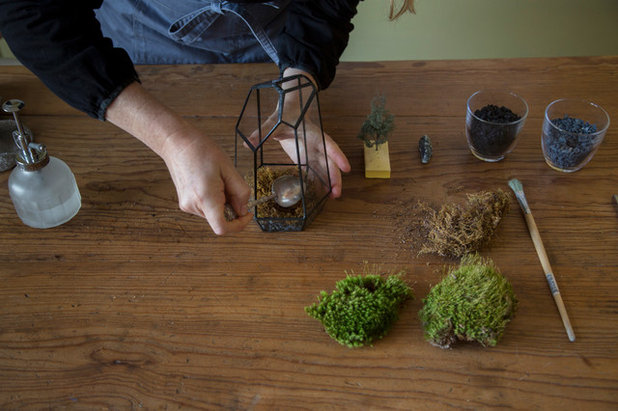
1 Using the spoon, place a layer of rocks, about three rocks deep, on the bottom of the glass vessel. The rocks will enhance the terrarium’s appearance and help drain any water that seeps through the moss, which you’ll add next.
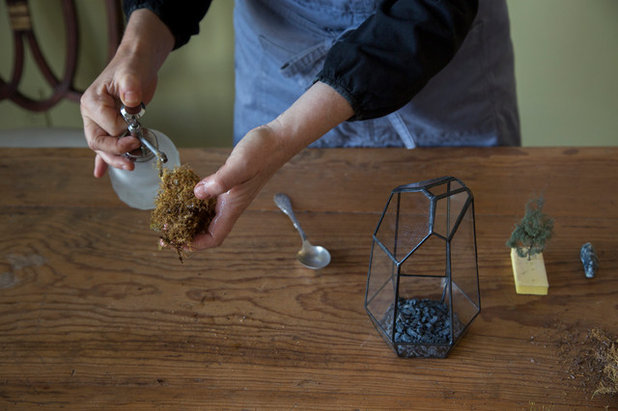
2 Take a piece of sheet moss about the size of the vessel’s base. Completely moisten the moss using the mister, and then wring out any excess water. Adding water to the moss will make it easier and less messy to work with.
3 Place the sheet moss layer on top of the rocks, trying to completely cover the rock layer below. Use the back of the spoon to tamp the moss into place and push it into the terrarium’s corners. The non-brush end of the paintbrush can also help with this. The sheet moss will act as a barrier and keep the charcoal layer, to be added next, from mixing with the rocks below.
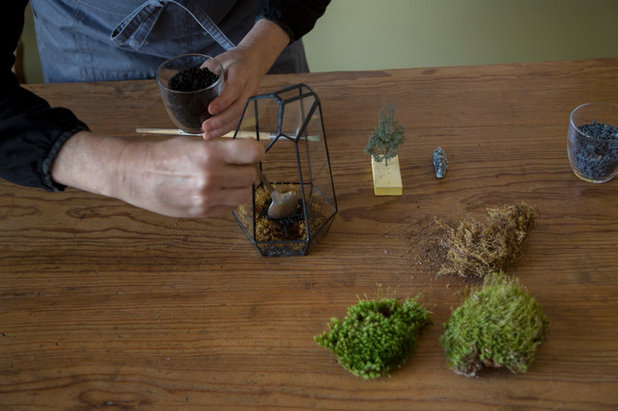
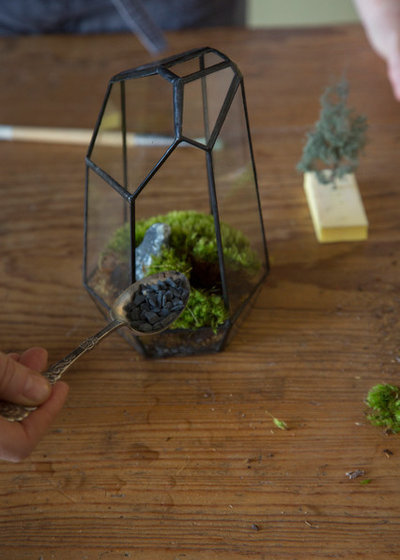
4 Add a layer of charcoal with the spoon, aiming to just cover most of the moss below. The charcoal will act as a filter and prevent any moisture in the terrarium from developing an unpleasant smell.
Now your terrarium’s base layers are complete.
Check out these creative ideas for upcycling household items
Now your terrarium’s base layers are complete.
Check out these creative ideas for upcycling household items
5 Grab a piece of your cushion moss. Your cushion moss might have a thicker or thinner bottom layer. Depending on how you’d like your terrarium to look, you can keep the moss thick or cut off some of the thickness to create an interesting terrain.
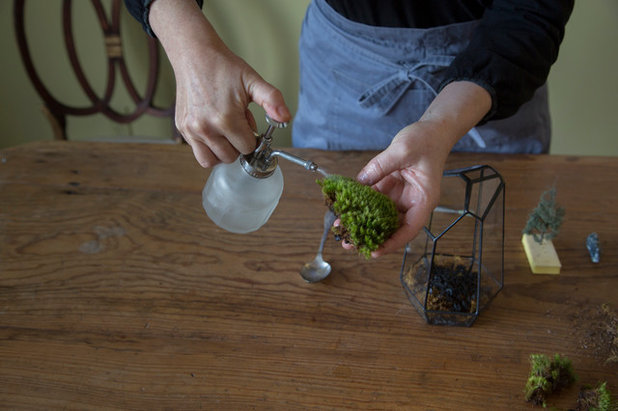
6 Completely moisten your piece of cushion moss with the mister, as you did with the sheet moss. Wring out any excess water.
You can leave the cushion moss as a larger piece if you like or break it into smaller pieces to create more of a landscape scene in the terrarium. Wait until after you moisten the moss to break it apart, as it will be more malleable and less messy.
You can leave the cushion moss as a larger piece if you like or break it into smaller pieces to create more of a landscape scene in the terrarium. Wait until after you moisten the moss to break it apart, as it will be more malleable and less messy.
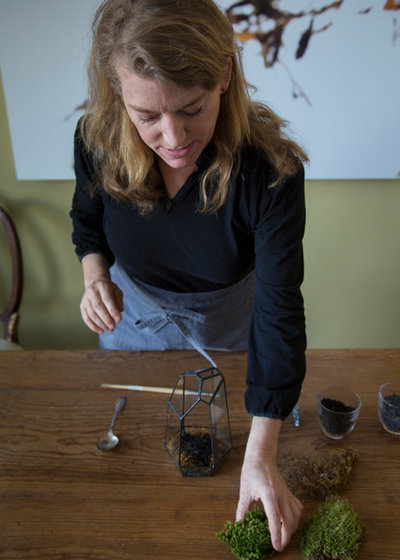
7 Place your cushion moss in the terrarium, starting with the largest piece. Chapman used a single piece of moss to cover about half of the base, but you can combine smaller pieces of cushion moss to create the composition you want.
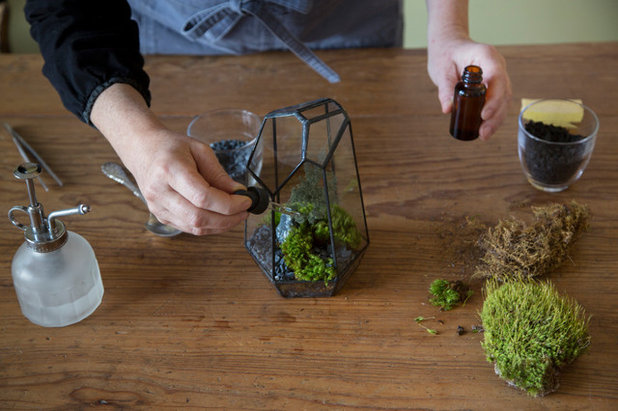
8 Add any sturdier accessories you plan to include in your terrarium. In this project, Chapman included a black stone for height and contrast.
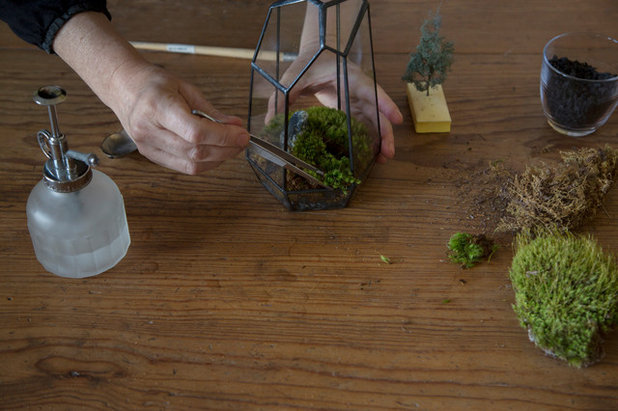
9 Add more cushion moss to the terrarium if you like, using tweezers to help place and tamp down the smaller, more delicate pieces. Create a scene that appeals to you from all directions. Cover most of the terrarium base with cushion moss or leave parts of the base exposed.
Chapman placed a piece of moss in this terrarium that appears to be spilling out of the vessel, with gaps in the moss forming interesting shapes around the green.
Chapman placed a piece of moss in this terrarium that appears to be spilling out of the vessel, with gaps in the moss forming interesting shapes around the green.
10 Fill in any places that don’t have cushion moss with rocks. You need to just cover the charcoal and sheet moss, so that the cushion moss is still taller than the surrounding rocks.
11 Add any other more delicate terrarium décor, such as this architectural tree model. You can use tweezers to help place the tree and tamp it into place.
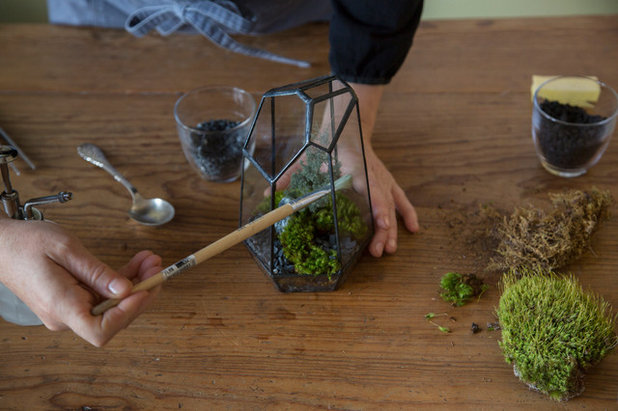
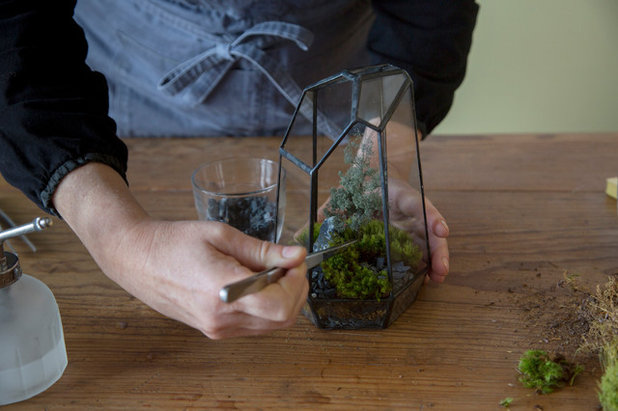
12 Clean the terrarium one last time, using the paintbrush or an extra-large cotton swab to get rid of any dust, smudges or dirt that accumulated during the project.
See how to make a personalised macramé plant hanger
See how to make a personalised macramé plant hanger
13 Water the moss with the medicine dropper, which will moisten the moss without getting the glass container dirty.
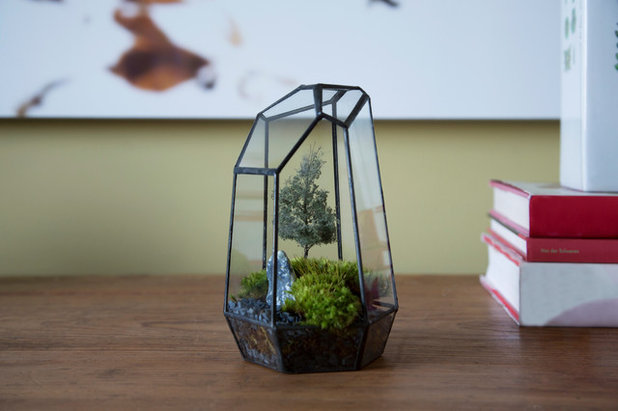
Place your terrarium on an indoor shelf, away from direct light, where you can admire it up close. With proper care, you should be able to enjoy your moss terrarium indefinitely.
Water it with the medicine dropper about once a week, or whenever the moss starts to appear too dry (if it’s dry and crunchy to the touch). The time of year will affect your watering schedule, as will the size of your vessel’s opening. Reduce your watering if you see moisture starting to collect on the inside of the glass.
TELL US…
Do you have any terrariums filled with plants in your home? Share your photos in the Comments below.

Related Stories
Houzz Tours
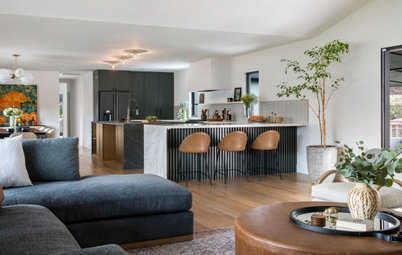
Houzz Tour: A Midcentury Home With a Strong Indoor-outdoor Link
By Becky Harris
A nature-inspired renovation has given this ranch house a relaxed mood and a connection to the outdoors from most rooms
Full Story
Kitchens
10 Smart Storage Tips for Your Kitchen Bins
Keep kitchen rubbish stylishly tucked away with these clever solutions
Full Story
More Rooms
The 5 Most Popular Laundry Rooms on Houzz Right Now
Get decorating ideas for your laundry or utility room from these most-saved photos on Houzz
Full Story
Gardens
How Do I Create a Drought-tolerant Garden?
By Kate Burt
As summers heat up, plants that need less water are increasingly desirable. Luckily, there are lots of beautiful options
Full Story
Houzz Tours
Houzz Tour: Warm Tones and Luxurious Surfaces in a City Townhouse
An earthy colour palette, hidden storage and well-placed texture add character and practicality to this London home
Full Story
Gardens
5 Inspiring Before and After Garden Transformations
Check out what a difference designers have made to these once dull plots, visually expanding spaces and creating privacy
Full Story
Houzz Tours
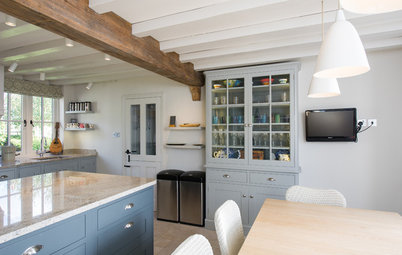
Kitchen Tour: A Gorgeous Extension With a Leafy Glasshouse Feel
By Kate Burt
When the owners of this terraced house extended, they were keen to retain its period feel and highlight the garden
Full Story

Gardens
How to Disguise Rubbish and Recycling Bins Outside Your Home
Need to hide unsightly bins in your garden or driveway? Take a look at these clever ideas for inspiration
Full Story

Renovating
21 Ways Designers Are Incorporating Arches Into Homes
By Kate Burt
Everywhere we look on Houzz right now, a cheeky arch pops up. How would you add this timeless architectural feature?
Full Story

Lifestyle
How to Improve the Air Quality in Your Home
Want to ensure your home environment is clean and healthy? Start by assessing the quality of your air
Full Story
jamin, I should have said this before. Be sure not to over-water it or the moss will start to turn dark and rot. I hope you used activated charcoal under the layer of soil to help keep the sol and moss clean.