How to Remove the Background on Mood Board Items
With the background remover, you can edit item images on your Mood Boards to remove the backgrounds. Removing the background helps you design the board the way you want it, conveying a clear visual story.

Why should I remove the background?
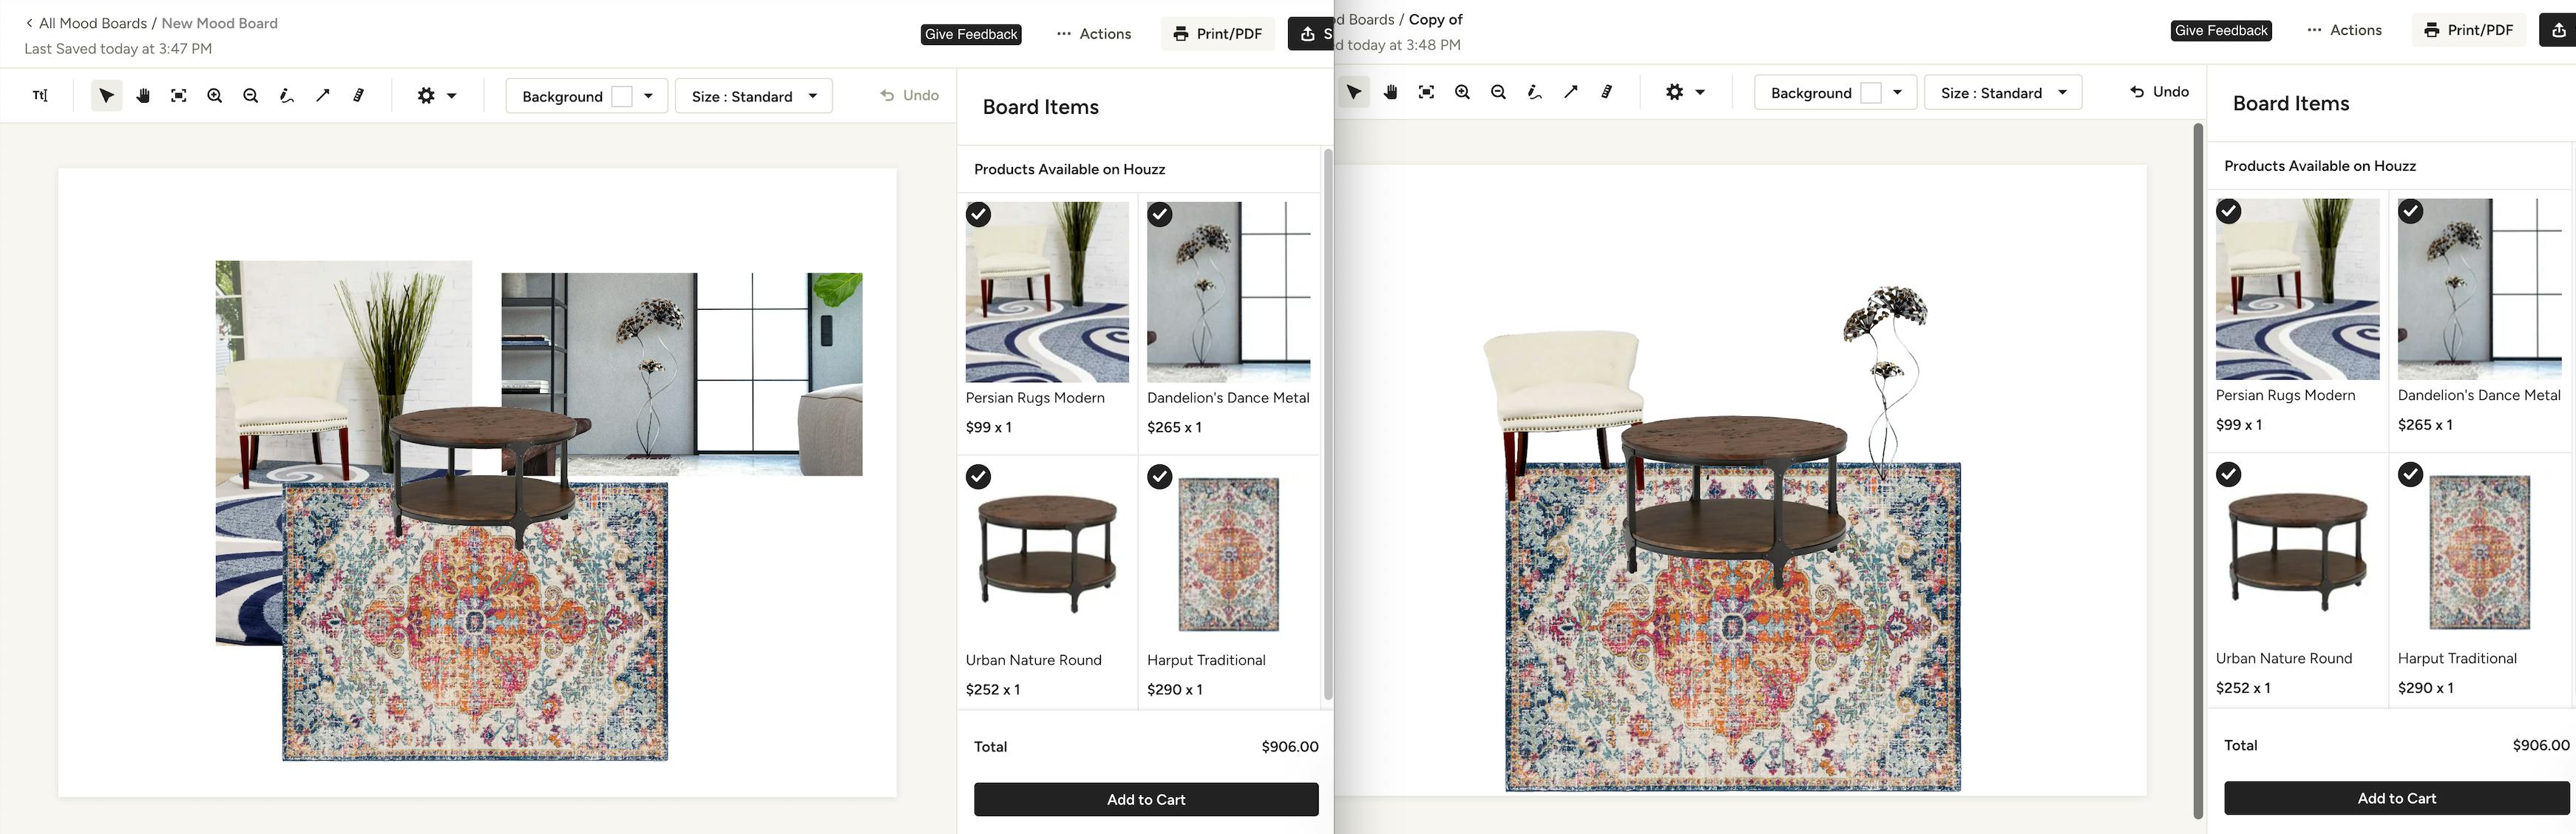
Removing the cluttered background of a photograph can significantly enhance the impact of your image. With the background remover, you can essentially make the image’s background transparent so the image doesn’t interfere with anything else on your Mood Board. This enables you to direct your client's focus towards the actual products, without any background distractions.
Automatic background removal setting
You can decide whether you want to take advantage of our smart technology to automatically eliminate the background from any image added to your Mood Boards by default. In the top toolbar, click on the Settings icon to reveal the option to "Automatically Remove Background Image". If the checkbox is selected, the background remover is seamlessly applied to any image that you add to your Mood Board by default, requiring no additional action on your part. To turn off the automatic background removal, simply uncheck the box. You always have the option to remove the background of any image at any time by using the process detailed below.
Background Removal Options
If you wish to edit the background of an image, you have three methods to do so: AI Powered, Basic and Manual. To access these options, follow these steps on the Mood Board:
- From the right panel, you can either upload your own image by clicking the Images icon, or add an image directly from your Project Items or Library.
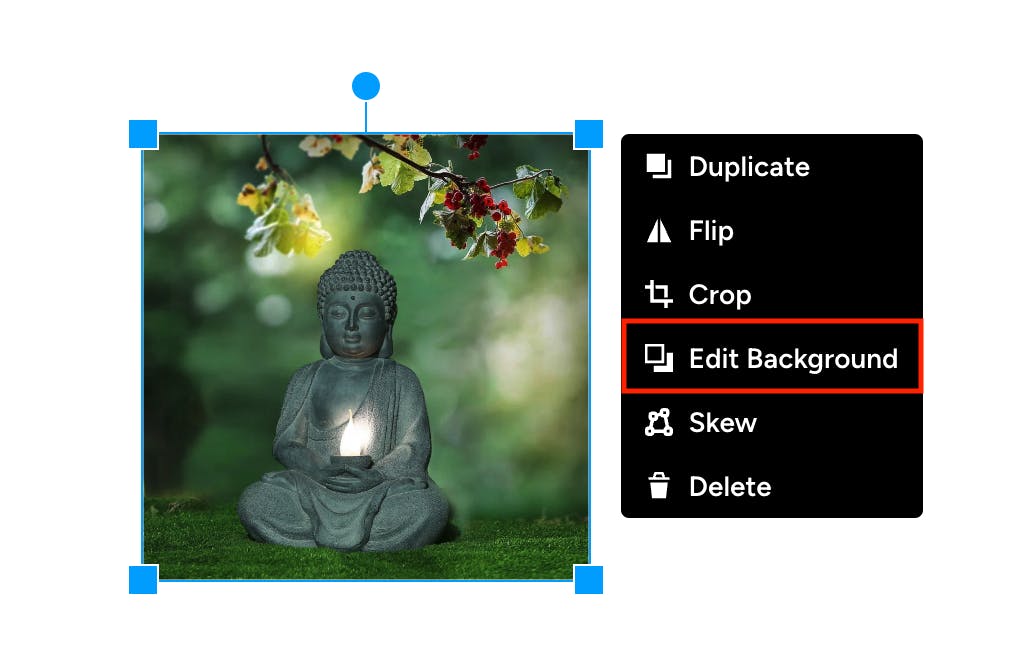
- Select the image and click “Edit background” on the screen that appears.

- From the dropdown, choose your preferred method: AI Powered, Basic or Manual
AI Powered: Excels in handling complex images, delivering precise results by recognising and adapting to diverse elements in your visuals.
Basic: Ideal for straightforward images, it provides a speedy solution for clean and basic results.
Manual: Gives you complete control over background removal with tools for achieving your desired results.

If you chose one AI or Basic, the edits will be made automatically. If you wish to further adjust the background, you can switch to Manual mode to continue making edits. See below for steps to use the Manual method.
Once you're satisfied with your image, select Apply to save your changes and return to the mood board.
Manual background removal
If you wish to manually edit the background with the Manual option, you can use the eraser tool. To do so, follow these steps:
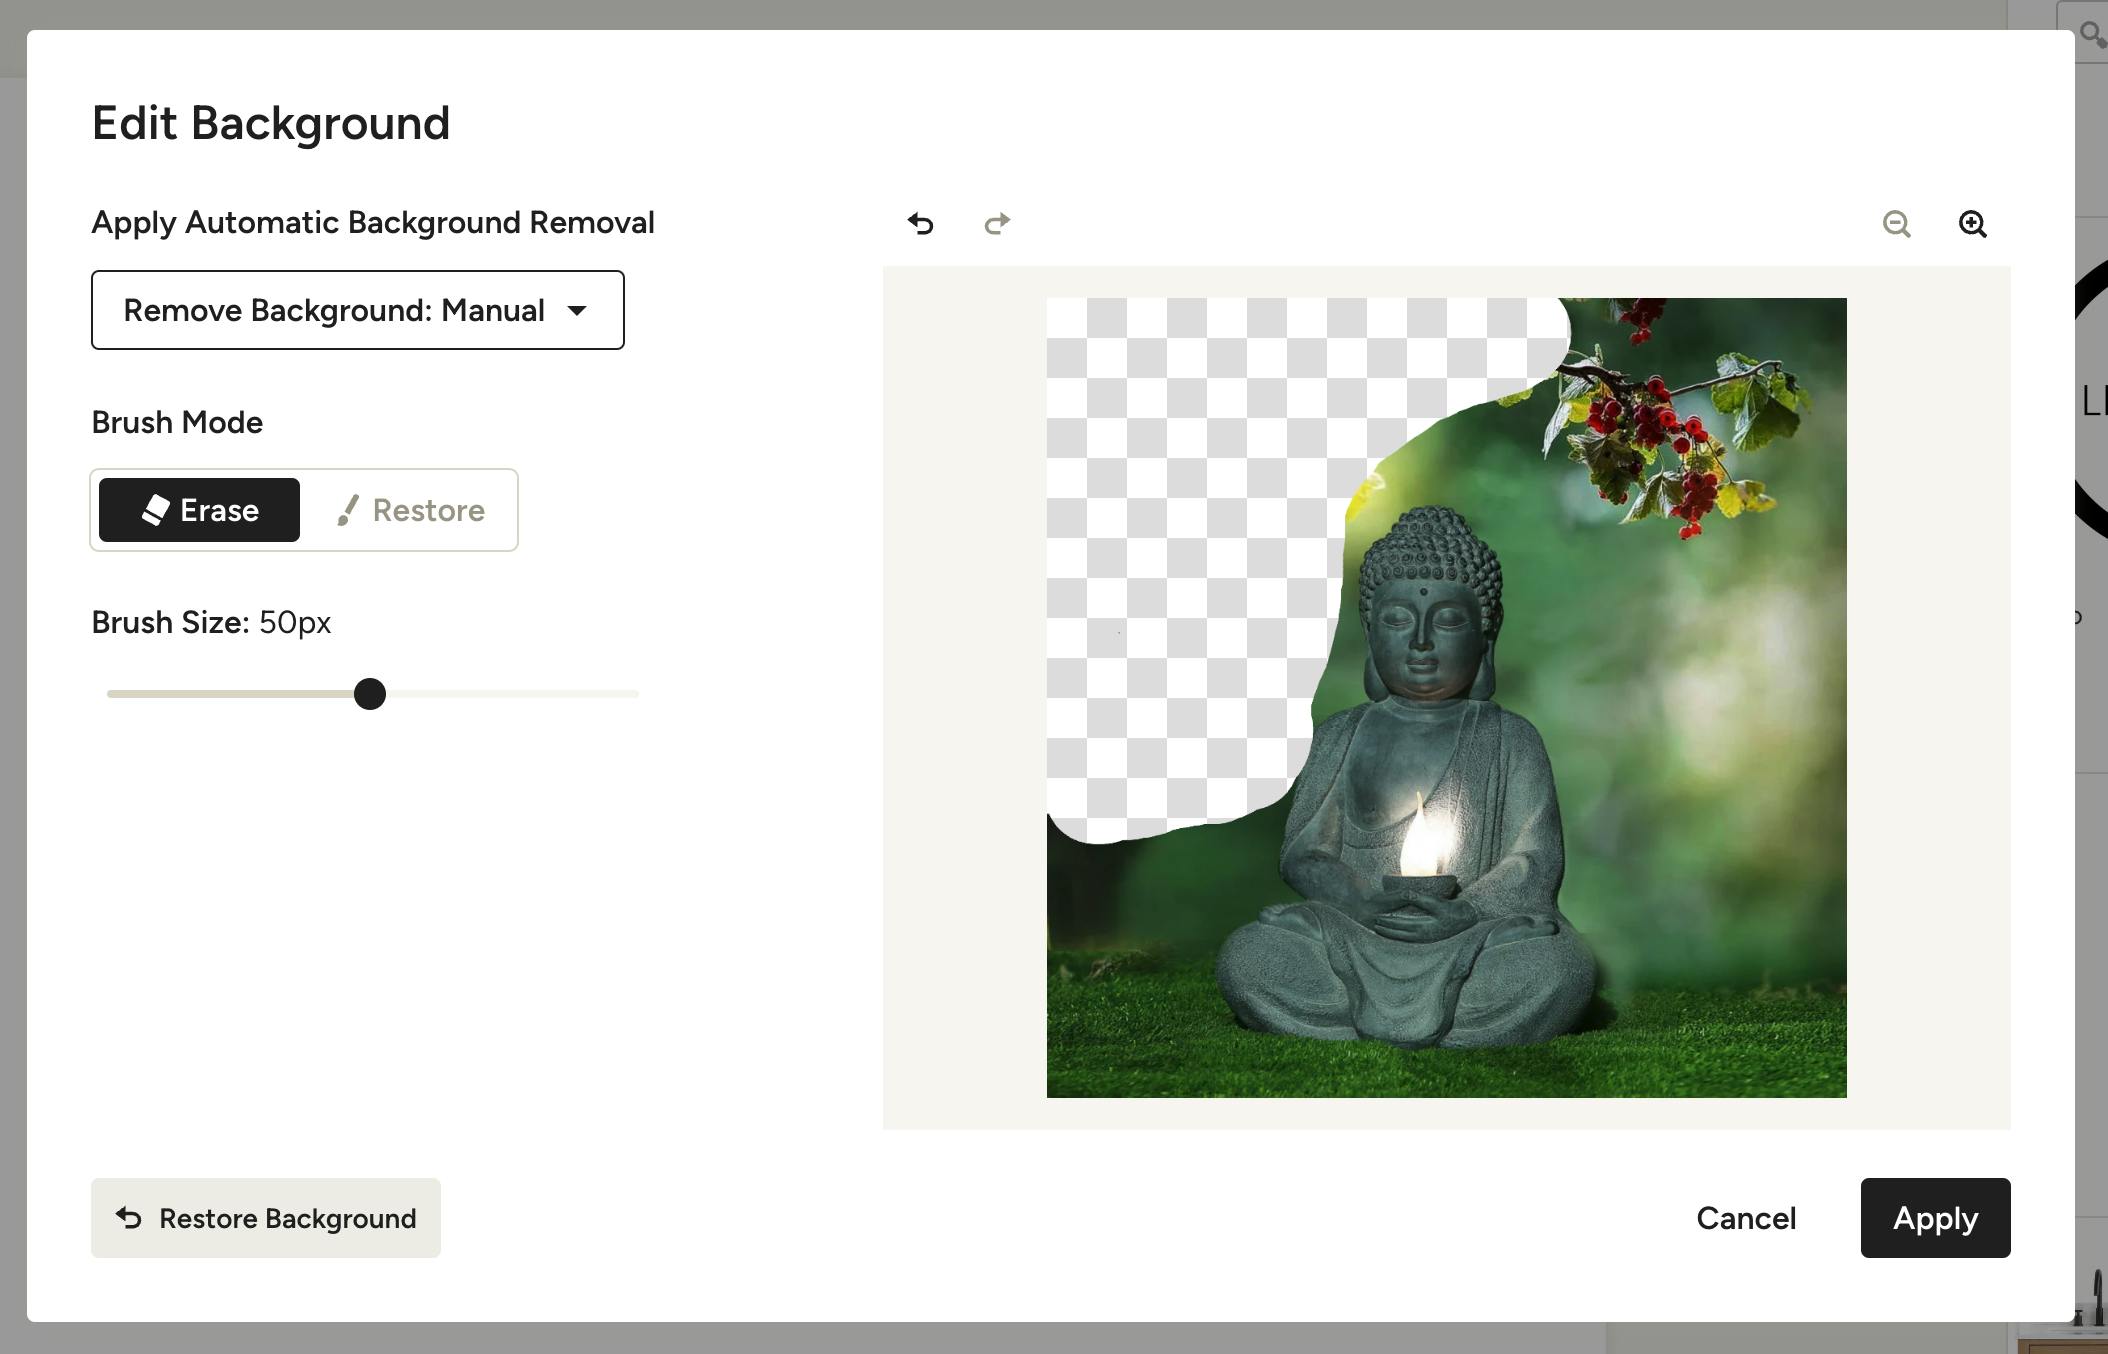
- Select Manual from the Remove Background dropdown.
- Toggle to “Erase” as the Brush Mode. You can toggle to “Restore” to add back parts of the background that you erased.
- Choose the brush size with which you want to erase by dragging the Brush Size slider accordingly. You'll see a preview of the brush size as you slide so you can easily select the right size.
- Start erasing by dragging the brush over the parts of the image you want to erase.
- Use the Undo and Redo arrows above the image to quickly correct any mistakes.
- Once satisfied with the background, select Apply on the bottom of the screen. You can select Restore Background to revert to the original image background.