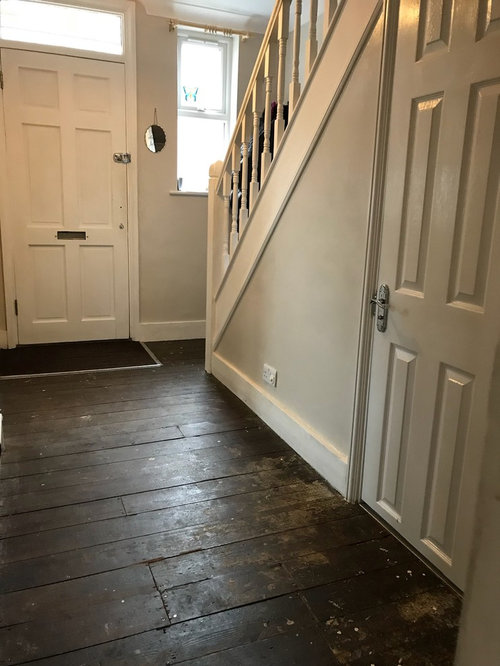
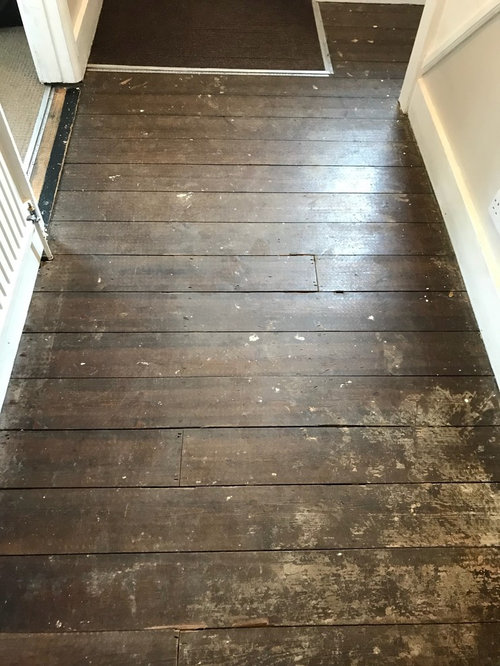
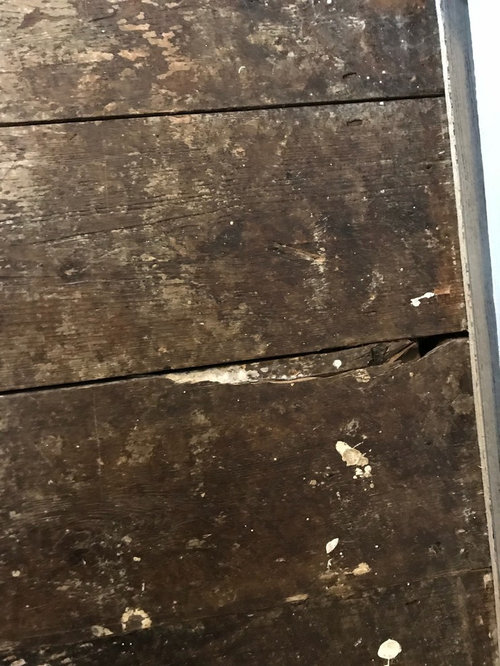
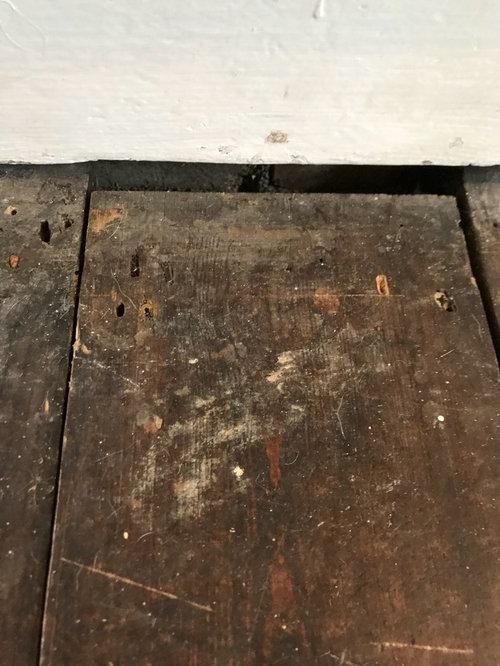
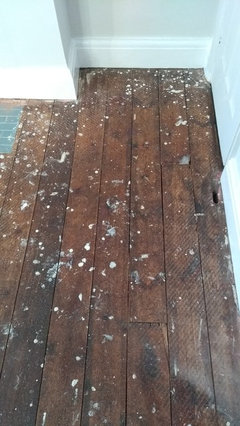
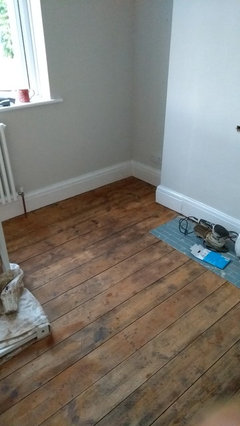
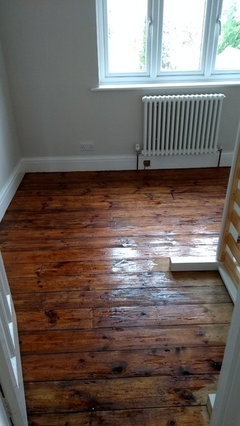
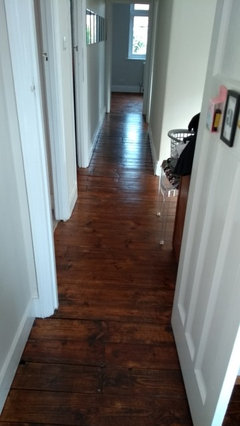
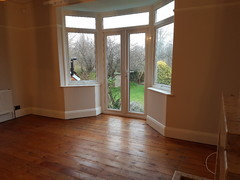
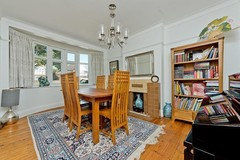
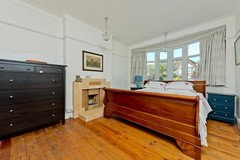
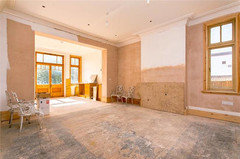
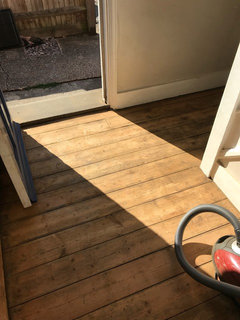
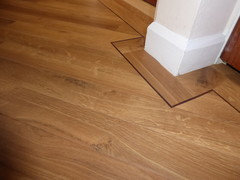
original floorboards HELP!
Rob
5 years ago
Featured Answer
Sort by:Oldest
Comments (31)

Carolina
5 years agolast modified: 5 years ago
Tani H-S
5 years agoRelated Discussions
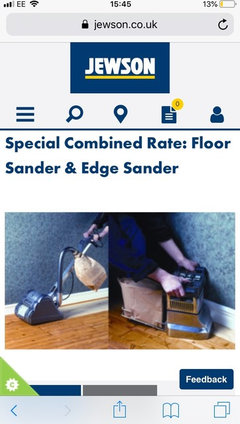
Need help for sanded floorboards
Comments (1)Have you thought about oiling the floor rather than varnishing it? I have found that oil doesn't tend to make the wood so golden....See MoreFloorboard help
Comments (3)If you are planning to have a stripped floor i'd go with reclaim to stay true to the period and get a nice patina on them. Ebay is a great source for floorboards and you'll be able to narrow it down to someone nearer you, although there are lots of companies that will deliver nationally....See MoreOriginal floorboards in kitchen
Comments (3)Hi Raquel. To preserve the patina and avoid the boards ending up looking new, I would lightly sand and then finish with a product called Bona Traffic matt finish (it's tough and we have used it in commercial projects too). We have had good results. May test out a section? Regards David...See MoreYellow pine floorboard nightmare! Please help!
Comments (15)Whitened oak is very different to whitened pine. Pine is very yellow and when whitened can go a bit pink. You can use Lye to bleach it, then white oil, then clear oil but it is a huge faff. You could try Osmo Raw, this would keep them pale but not go white. I wouldn't rush it, take time to really think about what will work and make sure images you look at are pine and not oak. Have just seen rona7770's they look great....See More
Rob
5 years agoTani H-S
5 years ago
Sonia
5 years agoAlex Wickson
5 years agoA B
5 years agoTani H-S
5 years agoalisonmb7
5 years ago
nmlondon
5 years agolast modified: 5 years agoliz gear
5 years agolast modified: 5 years agoRob
5 years ago
Resh
5 years agoResh
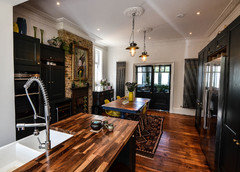
5 years ago PRO
PROi-architect
5 years agoResh
5 years agoTani H-S
5 years ago- PRO
i-architect
5 years ago  PRO
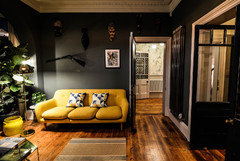
PROVerity & Beverley Ltd
5 years agominnie101
5 years agoRob
5 years agolast modified: 5 years agoA B
5 years agoA B
5 years agoalisonmb7
5 years agoA B
5 years agoalisonmb7
5 years agoRob
5 years agoRob
5 years agoliz gear
5 years ago PRO
PROItalian Design Ltd
5 years ago


E D