


How to Make a Worm Bin for Rich Soil and Happy Plants
A worm-powered compost bin that can fit under a sink turns food scraps into a powerful addition for your garden. Here’s how to make one
Annie Thornton
18 July 2016
Houzz Editorial Staff
Gardening with worms, you say? Exactly. Vermicomposting – the process of composting with worms – not only creates a nutrient-rich soil and plant improver, but also saves you from throwing away your fruit and vegetable scraps. And you don’t need a garden to do it — under the kitchen sink can work.
Evan Marks, the American founder and executive director of The Ecology Center in California, shows how to assemble and maintain your own worm-powered compost factory bin. Read on for instructions, or watch the video here.
Evan Marks, the American founder and executive director of The Ecology Center in California, shows how to assemble and maintain your own worm-powered compost factory bin. Read on for instructions, or watch the video here.
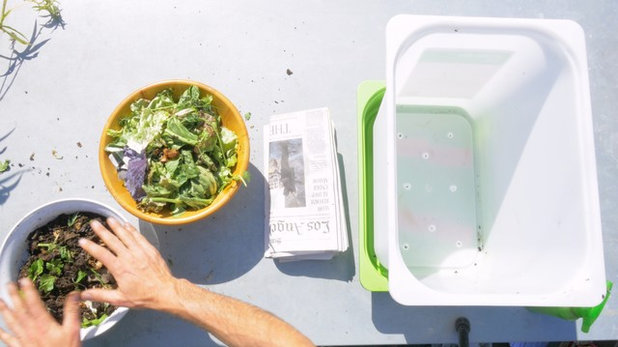
Worm bin tools and materials
- A tub large enough to accommodate a 70- to 90-litre (15- to 20-gallon) plastic bin
- A couple of wood blocks or bricks
- A lidded 70- to 90-litre (15- to 20-gallon) plastic bin drilled with several quarter-inch holes in the bottom for drainage and smaller holes on the sides for ventilation
- Shredded newspaper (a nontoxic and absorbent bedding material)
- Squirt bottle
- Food scraps (lettuce, cabbage, carrot tops and other uncooked leafy greens)
- A couple of handfuls of soil to help start the decomposition process
- 1 pound of red wiggler worms (you can buy an equivalent in the UK – just search online for “composting worms”; they like to eat food scraps and paper)
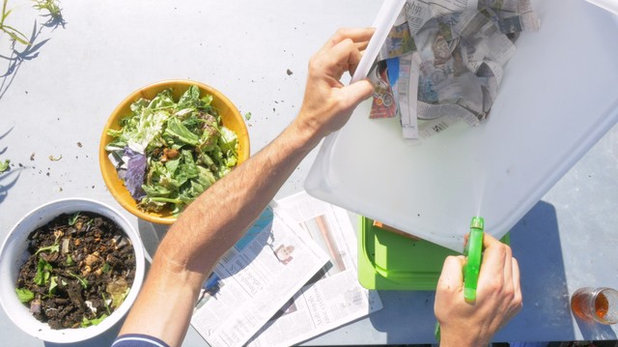
Making your worm bin
In the tub, lay down the blocks and set the plastic bin on top.
Layer the plastic bin like a lasagna, starting with the newspaper. First, put a couple of inches of ripped newspaper in the bottom of the bin; you want good air circulation, so don’t pack it down. Use a water-filled squirt bottle to moisten the newspaper until it feels as wet as a wrung-out sponge.
Next, put a layer of food scraps a couple of inches deep on top of the newspaper. It’s best to start with lettuce, cabbage and other easily digestible veggies; later, you can add denser compost items.
Add soil and worms. The soil adds micro-organisms to the bin and helps with the worms’ digestion when they’re starting out.
Top with another layer of newspaper, making sure to completely cover the worms and food scraps. Moisten the newspaper with a few squirts of water and secure the lid on the bin.
Storing your bin
Store your bin in a cool, dry place that’s convenient and close to the kitchen. If you plan to keep your worm bin outside, make sure the top is secured so animals can’t get into it, and put it in a protected area that doesn’t experience extreme temperature swings. Your worm bin shouldn’t smell, so you can store it under the kitchen sink if you’d like.
Get expert tips on growing a container garden
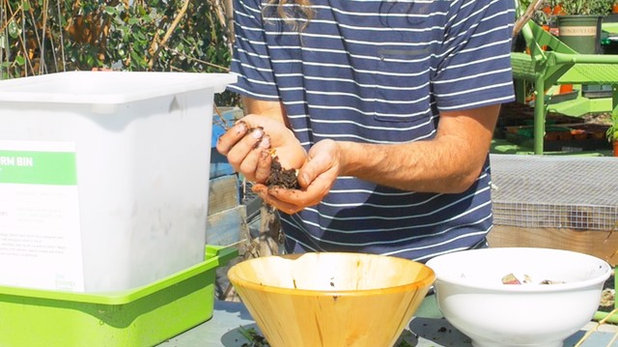
Maintaining your worm bin and harvesting worm castings
Evan Marks adds scraps to his bin once or twice a week, but it may take a couple of months for the decomposition to get going. Chopped fruit and vegetable waste, coffee grounds, tea leaves and crushed eggshells can be added to the bin. Don’t use meat, bones, fat or dairy. Add a 2- to 3-inch layer of moist newspaper bedding every time you add scraps to the bin.
Continue to check on your worm bin once or twice a week to add more scraps and monitor the moisture level, maintaining that feeling of a wrung-out sponge. Mist it with water when necessary. If your bin is too dry, nothing will break down. If your bin is too wet, it can become anaerobic. Loosen it up with a trowel and add dry shredded newspaper to balance out the moisture.
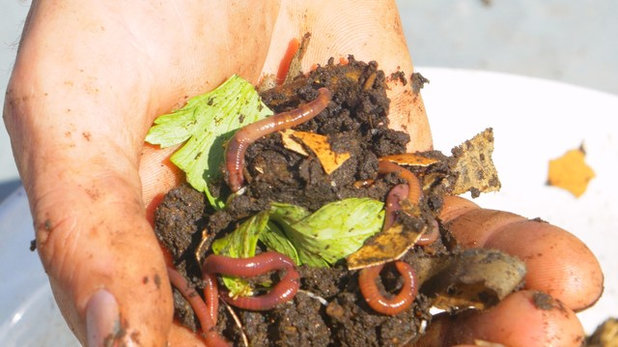
A black substance called worm castings should appear at the bottom of the bin in a couple of months. Use this nutrient-rich substance on all your plants, making sure you leave the worms and food that hasn’t broken down in the bin. Layer a tablespoon or so on indoor plants and a handful or so on outdoor plants as a top dressing. Worm castings not only benefit your plants, they also add structure to the soil.
More wormy goodness
Although you don’t want too much moisture in the worm bin, you’re likely to have liquid drain out the bottom. This nutrient-rich liquid (called leachate) can also be used as an organic plant fertiliser. It’s very concentrated, so you should dilute it to 1 part leachate to at least 10 parts water, then use it as a fertiliser on houseplants and outdoor plants.
Read expert tips on growing a scented garden
Evan Marks adds scraps to his bin once or twice a week, but it may take a couple of months for the decomposition to get going. Chopped fruit and vegetable waste, coffee grounds, tea leaves and crushed eggshells can be added to the bin. Don’t use meat, bones, fat or dairy. Add a 2- to 3-inch layer of moist newspaper bedding every time you add scraps to the bin.
Continue to check on your worm bin once or twice a week to add more scraps and monitor the moisture level, maintaining that feeling of a wrung-out sponge. Mist it with water when necessary. If your bin is too dry, nothing will break down. If your bin is too wet, it can become anaerobic. Loosen it up with a trowel and add dry shredded newspaper to balance out the moisture.
A black substance called worm castings should appear at the bottom of the bin in a couple of months. Use this nutrient-rich substance on all your plants, making sure you leave the worms and food that hasn’t broken down in the bin. Layer a tablespoon or so on indoor plants and a handful or so on outdoor plants as a top dressing. Worm castings not only benefit your plants, they also add structure to the soil.
More wormy goodness
Although you don’t want too much moisture in the worm bin, you’re likely to have liquid drain out the bottom. This nutrient-rich liquid (called leachate) can also be used as an organic plant fertiliser. It’s very concentrated, so you should dilute it to 1 part leachate to at least 10 parts water, then use it as a fertiliser on houseplants and outdoor plants.
Read expert tips on growing a scented garden
You can buy worm bin kits and composting worms online.


Related Stories
Garden Inspiration
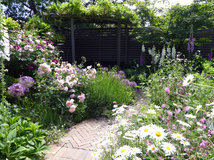
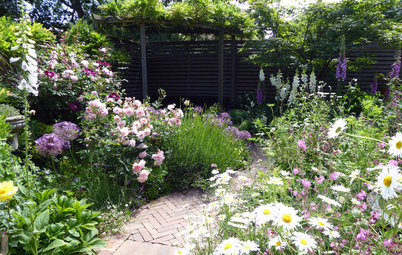
10 Common Garden Design Mistakes and How to Avoid Them
Three Houzz garden designers reveal the errors it’s easy to make when planning an outside space
Full Story
Garden Inspiration
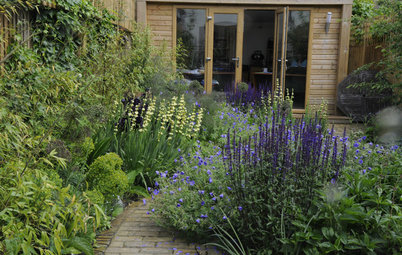
Are You Doing These 6 Things to Make Your Garden Feel Smaller?
By Kate Burt
With good intentions, we can sometimes unwittingly shrink our gardens, so make sure you swerve these common mistakes
Full Story
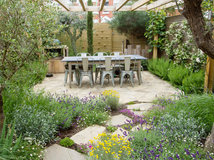
Gardening
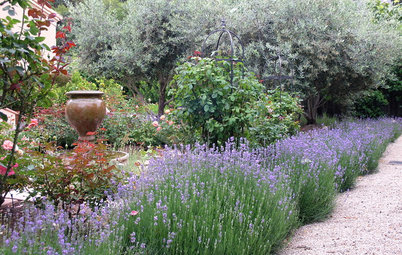
How Do I Create a Drought-tolerant Garden?
By Kate Burt
As summers heat up, plants that need less water are increasingly desirable. Luckily, there are lots of beautiful options
Full Story
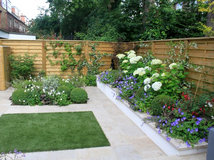
Garden Inspiration
5 Inspiring Before and After Garden Transformations
Check out what a difference designers have made to these once dull plots, visually expanding spaces and creating privacy
Full Story

Garden Inspiration
How to Disguise Rubbish and Recycling Bins Outside Your Home
Need to hide unsightly bins in your garden or driveway? Take a look at these clever ideas for inspiration
Full Story
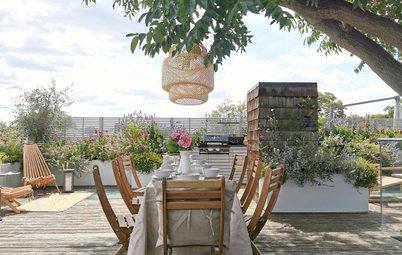
Garden Tours
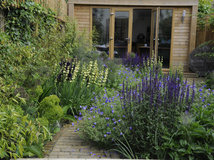
Garden Tour: A Bare Roof Terrace Becomes a Pretty, Sociable Space
By Kate Burt
A retired couple got help transforming their large rooftop into a gorgeous, welcoming, multi-functional retreat
Full Story
Garden Planning
Can I Have a Lawn-free Garden That’s Kind to the Environment?
Try these tips to help you plan a garden without grass that’s still leafy and eco-friendly
Full Story
Garden Inspiration
7 Things People Don’t Tell You About Designing a Garden
Uncover some of the more surprising elements of planning a garden redesign
Full Story
Garden Inspiration
9 Ways to Create a More Sustainable Garden
Simple, effective ideas for reducing your environmental footprint and creating a beautiful garden
Full Story
Garden Inspiration
18 Soul-soothing Green Roofs
By Kate Burt
Whether you choose sedum, wildflowers, or a mix, a living roof can be a beautiful and biodiverse addition to your home
Full Story
We have a hamster... could you put his used bedding materials (sawdust) into a vermicomposter?