
Book Extract: How to Make a Beautiful Hydrangea Garland
This gorgeous craft make is taken from ‘Inspire: The Art of Living with Nature’ by Willow Crossley

Willow Crossley talks us through how to create a beautiful hydrangea garland in an extract from her book, ‘Inspire: The Art of Living With Nature’.
‘Hydrangeas remind me of my wedding day. Chaz and I were married in September in the house in Wales where I grew up. Happily for me, the garden had a lot of hydrangea bushes. My mother – gardener extraordinaire – spent months pruning and nurturing so that everything would be at its peak for our big day. The hydrangeas were perfect, and we had spectacular banks of greeny-blue ones to decorate the church, tent and tables.
‘As well as their obvious beauty, the hydrangeas’ generous size makes them doubly useful and lets you create something bold with just a few giant blooms. Here I’ve used dried hydrangea heads, but fresh blooms would work just as well. There are no hard and fast rules for making this project, but I find it’s best to start by laying out the foliage like a long, fat sausage – the fatter, the better.’
1 Measure how long you want the garland to be with some ribbon or string. Add an extra 8in (20cm) on each end to use as hanging loops. Lay out the foliage along the ribbon like a long, fat sausage.
2 Hold the florists’ wire tightly and, starting at one end of the ‘sausage’, carefully wrap it up and around the foliage and ribbon to bind them together. Secure the wire at the other end.
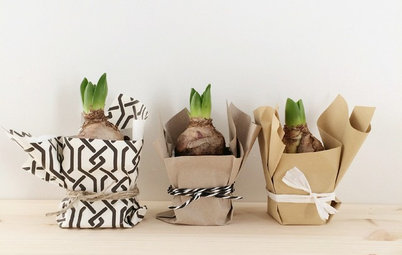
See how to craft pretty gift packaging
2 Hold the florists’ wire tightly and, starting at one end of the ‘sausage’, carefully wrap it up and around the foliage and ribbon to bind them together. Secure the wire at the other end.
See how to craft pretty gift packaging
3 Feed in the hydrangea, rhododendron and rosemary along the garland wherever you want them. Depending on where the garland is to be displayed, it may be easier to hang up the foliage ‘sausage’ first, then add the flowers along its length. In this way, less of the garland will come adrift when you carry it into position.
See more projects like this in Inspire: The Art of Living With Nature, available from Cico.
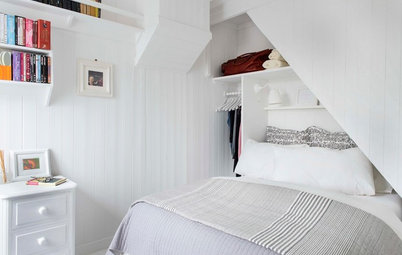
Learn how to create a vintage storage box
See more projects like this in Inspire: The Art of Living With Nature, available from Cico.
Learn how to create a vintage storage box


Sponsored

Sponsored
Green ribbon or string
Copper beech (Fagus sylvatica ‘atropunicea’) leaves
Oak (Quercus) leaves
Strong florists’ wire
Hydrangea stems
Rhododendron stems
Sprigs of rosemary, preferably in flower
Garden clippers (secateurs)
Scissors