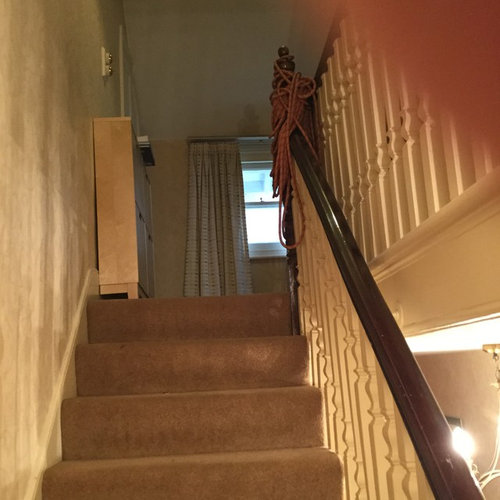
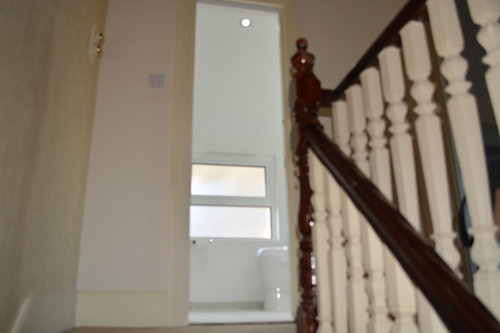
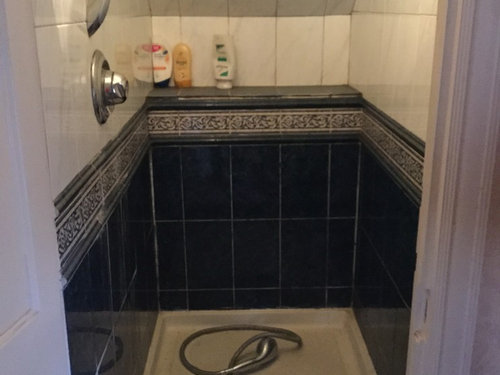
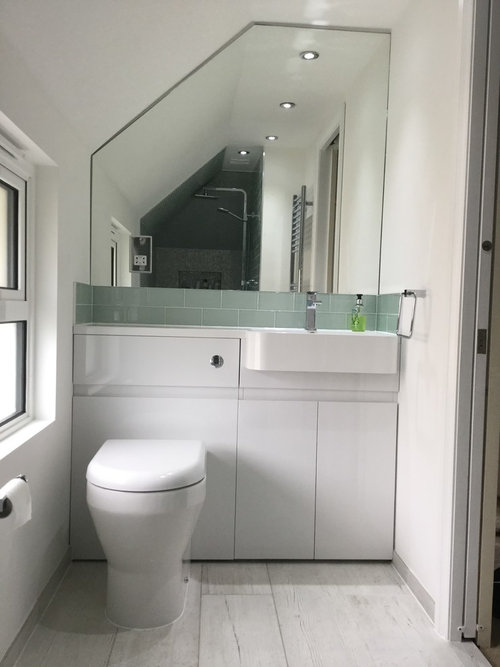
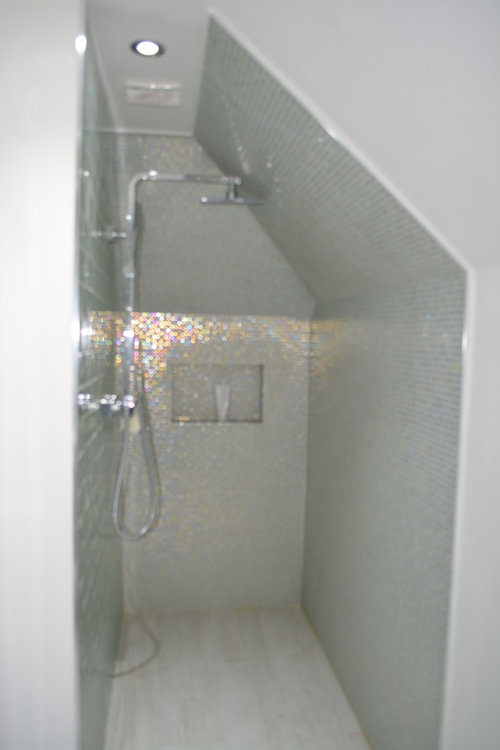
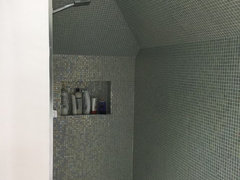
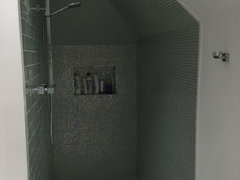
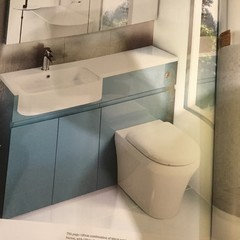
New wetroom
Interior Riches
7 years ago
last modified: 7 years ago


Featured Answer
Sort by:Oldest
Comments (9)

Isidora Markovic
7 years agolast modified: 7 years ago PRO
PROInterior Riches
7 years agolast modified: 7 years agoRelated Discussions
Why it pays to go to a Wetroom specialist
Comments (2)Nice work, love the drain, it no longer looks like a public baths!...See MoreRenovating a 1960's 3 bed semi - help with layout and kerb appeal!
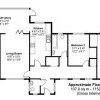
Comments (65)Hi all, Thank you so much for all the helpful comments and suggestions, and sorry that it's taken me so long to respond - house renovation and work have been keeping us on our toes! This has become a long post, so a quick reminder - we were looking to renovate and rewire our 60s house to update it and also make it more wheelchair friendly downstairs for when my mother-in-law comes to visit. We employed an architect and came up with what turned out to be an 'aspirational' design (much more than the budget!) so we ended up deciding to split things into two stages: Stage One to add a downstairs wetroom for accessibility, remove chimney throughout and add a porch Stage Two to do the extension across the rear, removing the conservatory to open out a large kitchen/diner and add a utility room The layout below shows both Stages One and Two as complete. Bits shown in red are existing walls which have been/will be removed (apart from the wall in red in the seating area below which is between the existing kitchen and dining room - that's a mistake). So.....the building work is now done - hurray! Stage One is complete, we are much poorer, and we now need to decorate the whole house :-) Some before and after photos below - please bear with the terrible photography skills. The rooms aren't big enough to allow for expansive photos!: We've re-plastered throughout, apart from in the kitchen and upstairs bathroom, as we'll deal with those later. Current challenge is deciding how on earth to pick paint colours and flooring throughout.... Anyway - hopefully that gives you a sense of where we've got to. Best wishes...See MoreHelp with kitchen - dining - bathroom layout
Comments (4)How about changing it into a long thin room - approx 1.4m wide and the length of the kitchen units (up to the entrance into the extension). You could then have the toilet on the back wall near the waste stack with another door into the toilet and then a small utility in front. There will be a small corridor at the bottom of your plan between the kitchen and dining room. You could put a sliding door at the end of the corridor that enters into the dining room. Hopefully the corridor would end just before the patio doors. Your dining room would be quite narrow still but if you used a bench on one side of the table against the wall it might work? Not sure if it would work once you measure everything out but maybe worth exploring?...See MoreCan anyone help me figure out this redesign?
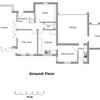
Comments (5)What period is the house? The stairs are not shown on the ground floor plan but I presume they are fairly near the front door? From the information supplied, I would close up one arch and unite the dining room with the kitchen. I would say there's space to create a downstairs WC from the wet room. I would close up the access from the garage and use that corridor with the rest of the space from the wet room to make a utility room. Upstairs I would leave the WC separate. I've seen this before and there's no way of making it work as one bathroom but that needn't matter. I would put a bifold door on the bathroom and turn the bath parallel with the window. There would be enough space for an L shaped bath with shower over, 800mm at its wider end. The bath would be 1700mm and the space is 1900mm so I would panel out and create an L shaped alcove. This will hide all your pipework, avoid ugly boxing and create a shelf and space for a shaver point and lighting over. It would look something like the model attached- I've used those colours just to delineate the tiling. That would leave 1200mm on that wall, enough space for a freestanding washstand of around 900mm - something like the attached picture. Your radiator would then be on your left. I realise I haven't tiled along the bath wall. This is a very quick model for layout only. You could turn the bath the other way and have a narrower shelf and downlit inset shelving on the "basin" wall. . I'm guessing this was a cottage that's been extended and altered over the years. If so, I would say work with the quirkiness and don't try to make the house something it isn't. This will give you a better outcome and cost you a lot less. With careful planning it's doable on your budget but, as ever, labour will be your most significant cost....See More
Mrs G
7 years ago- PRO
Interior Riches
7 years ago 
Claire Nicholson
7 years ago- PRO
Interior Riches
7 years ago  PRO
PROTradewetrooms.com
7 years agolast modified: 7 years ago


Mrs G